
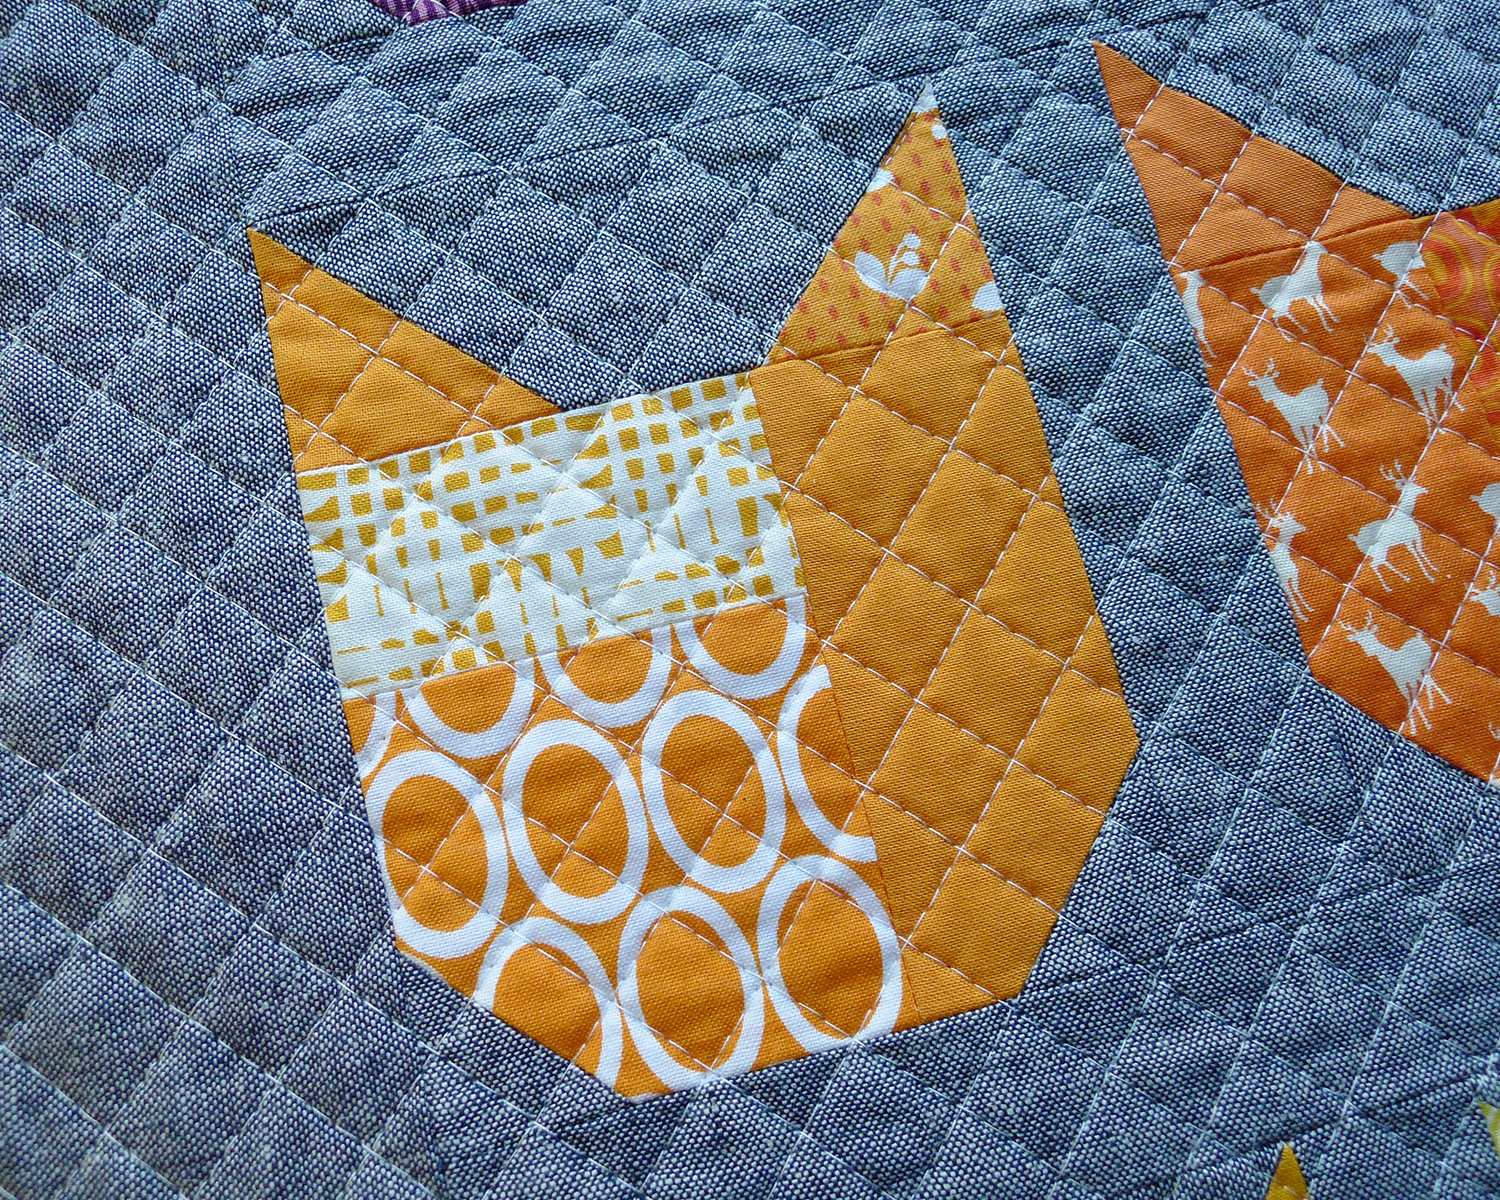
These are the cats 6 - 10 from my 2013 Catvent Quilt-Along. Instructions for The Cat mini quilt using these blocks can be found here. The Basic Cat block instructions (referenced below) can be found here. If you prefer to download the entire project as a pdf file, with an option for making the quilt larger, it's available in my shop.
Colorful print and solid fabrics for each cat block are listed below. For each block, you will also need:
- 1 piece 2” x 4½” for the ears*
- 2 pieces 1½” x 1½” for the chin*
*If you followed the instructions in this post to cut background fabric for a mini quilt, you already have these pieces.
Unless otherwise noted, all seams are sewn with 1/4" seam allowance and pressed open.

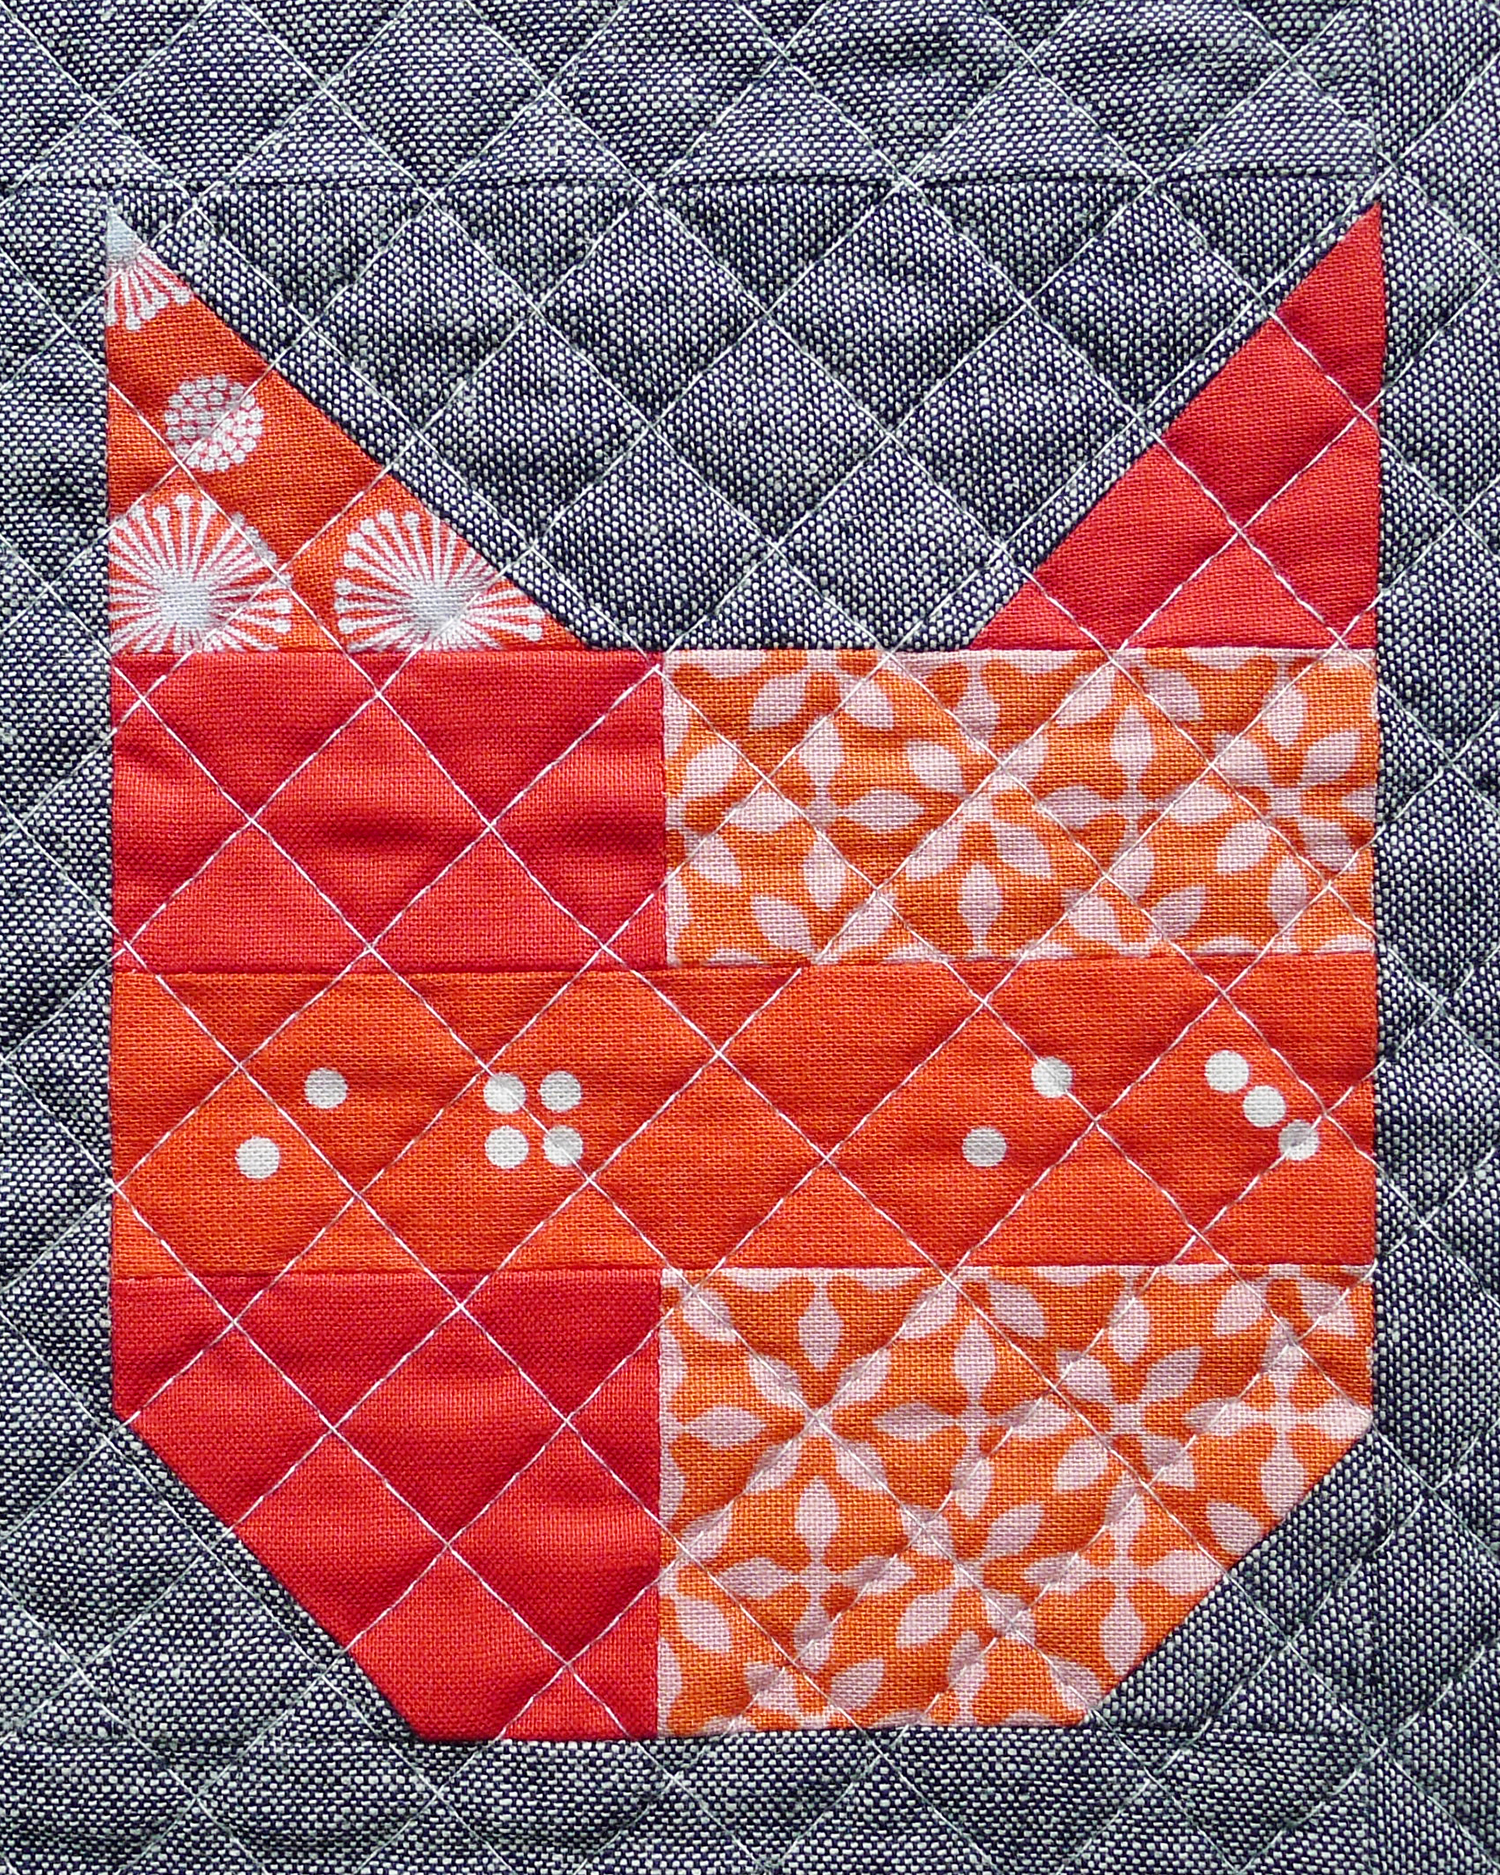
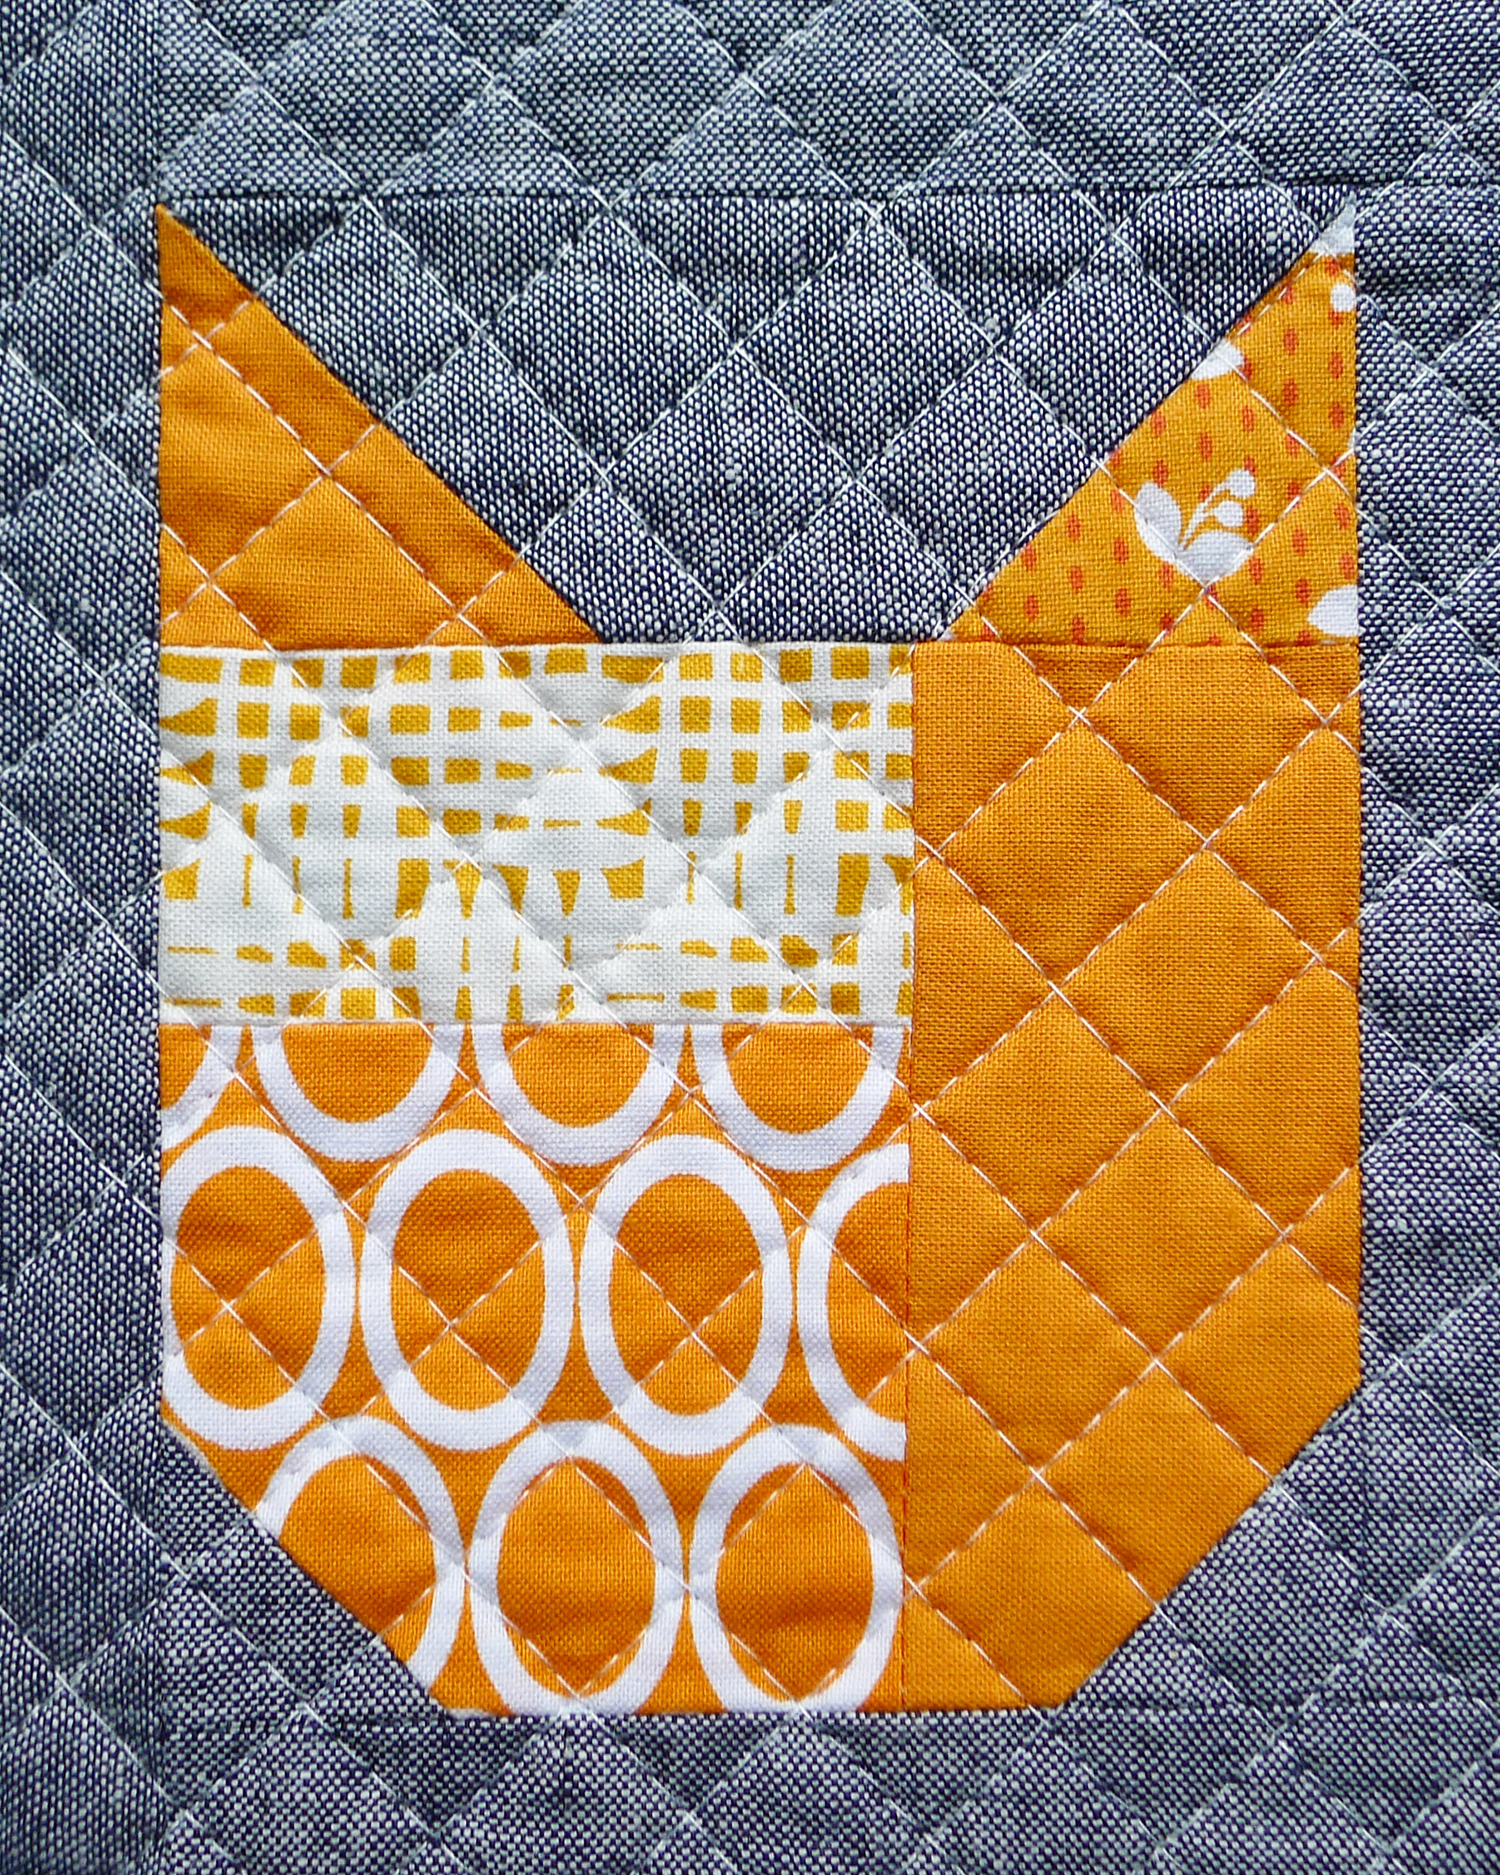
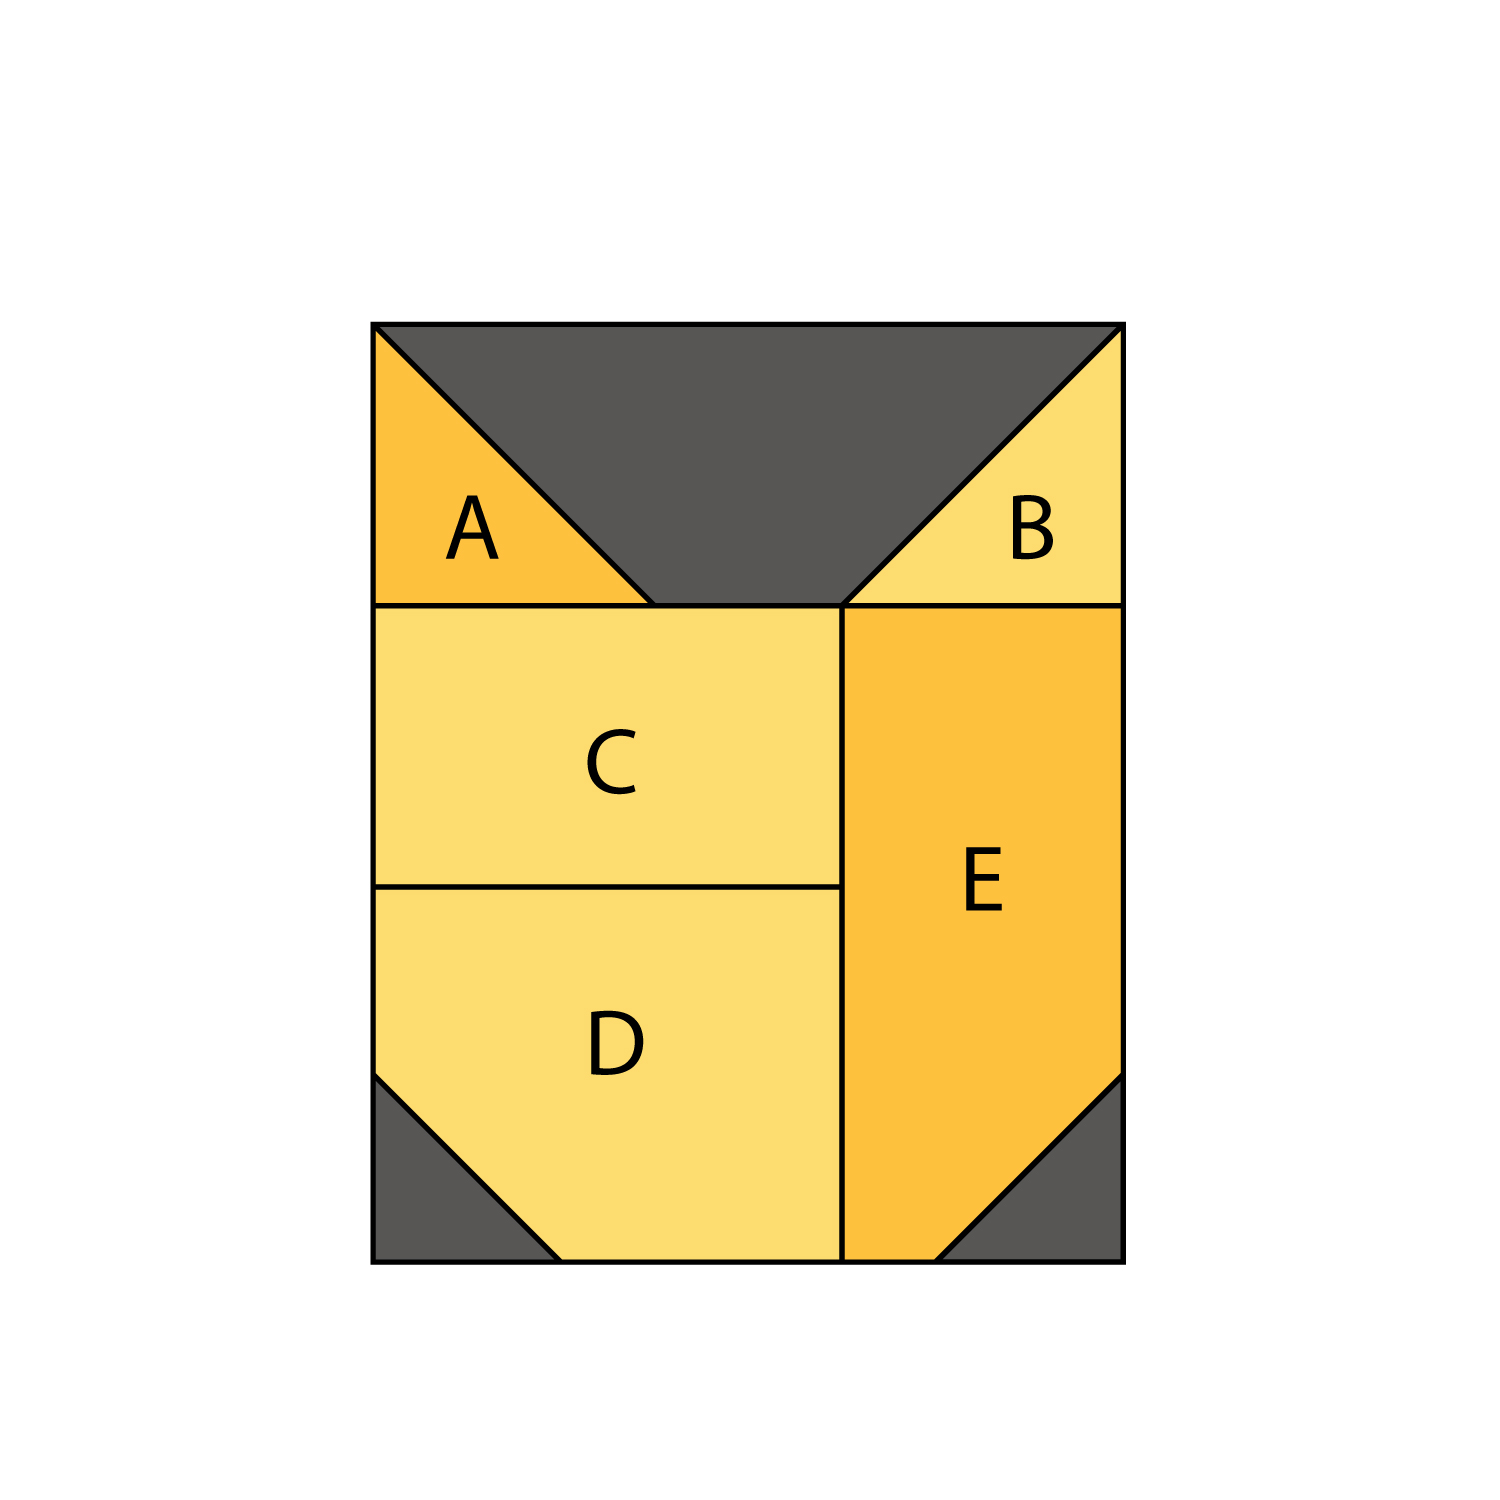
Cat 6: Krista
Print Fabric Pieces
- A – 2” x 2”
- D – 2¾” x 3½”
- E – 1½” x 4½”
Solid Fabric Pieces
- B – 2” x 2”
- C – 2¼” x 3½”
Making the Block
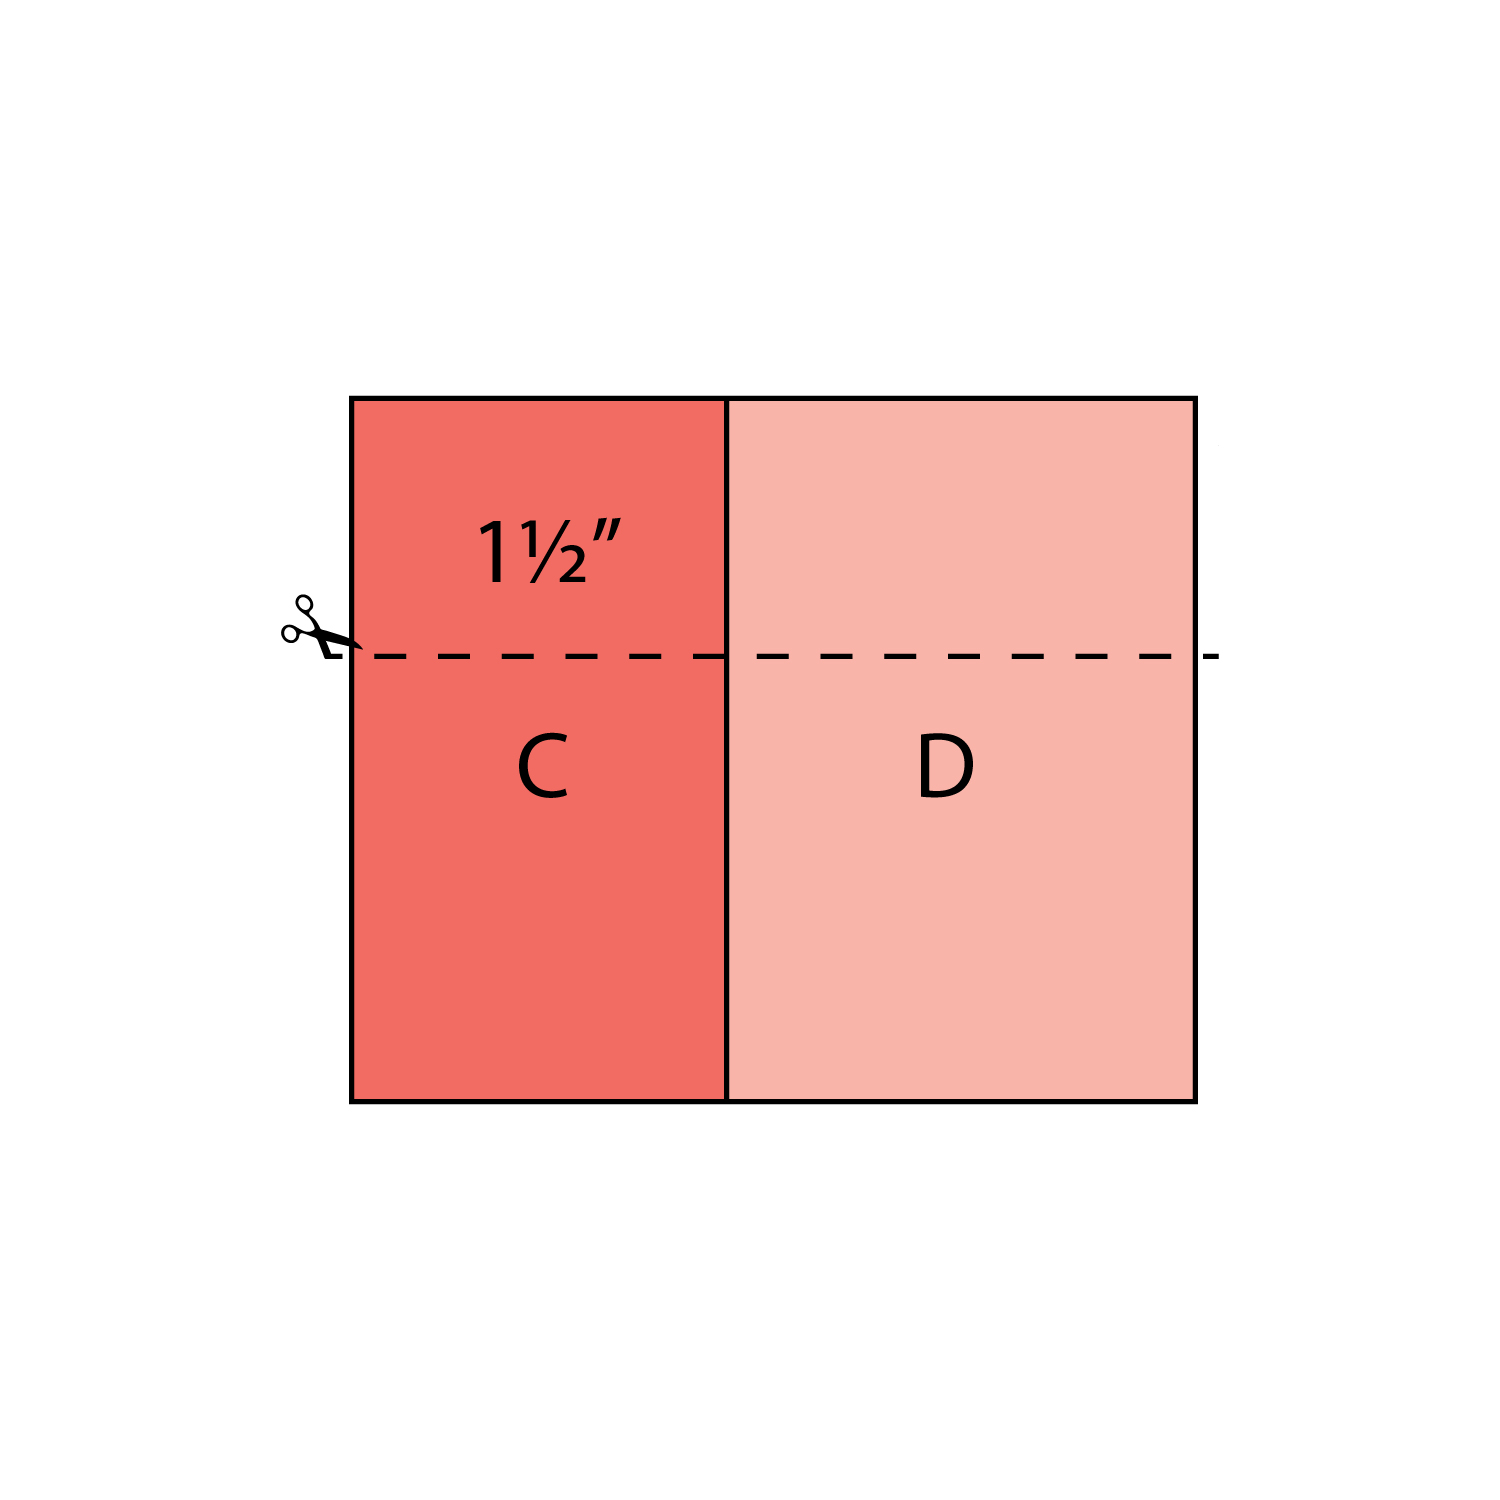
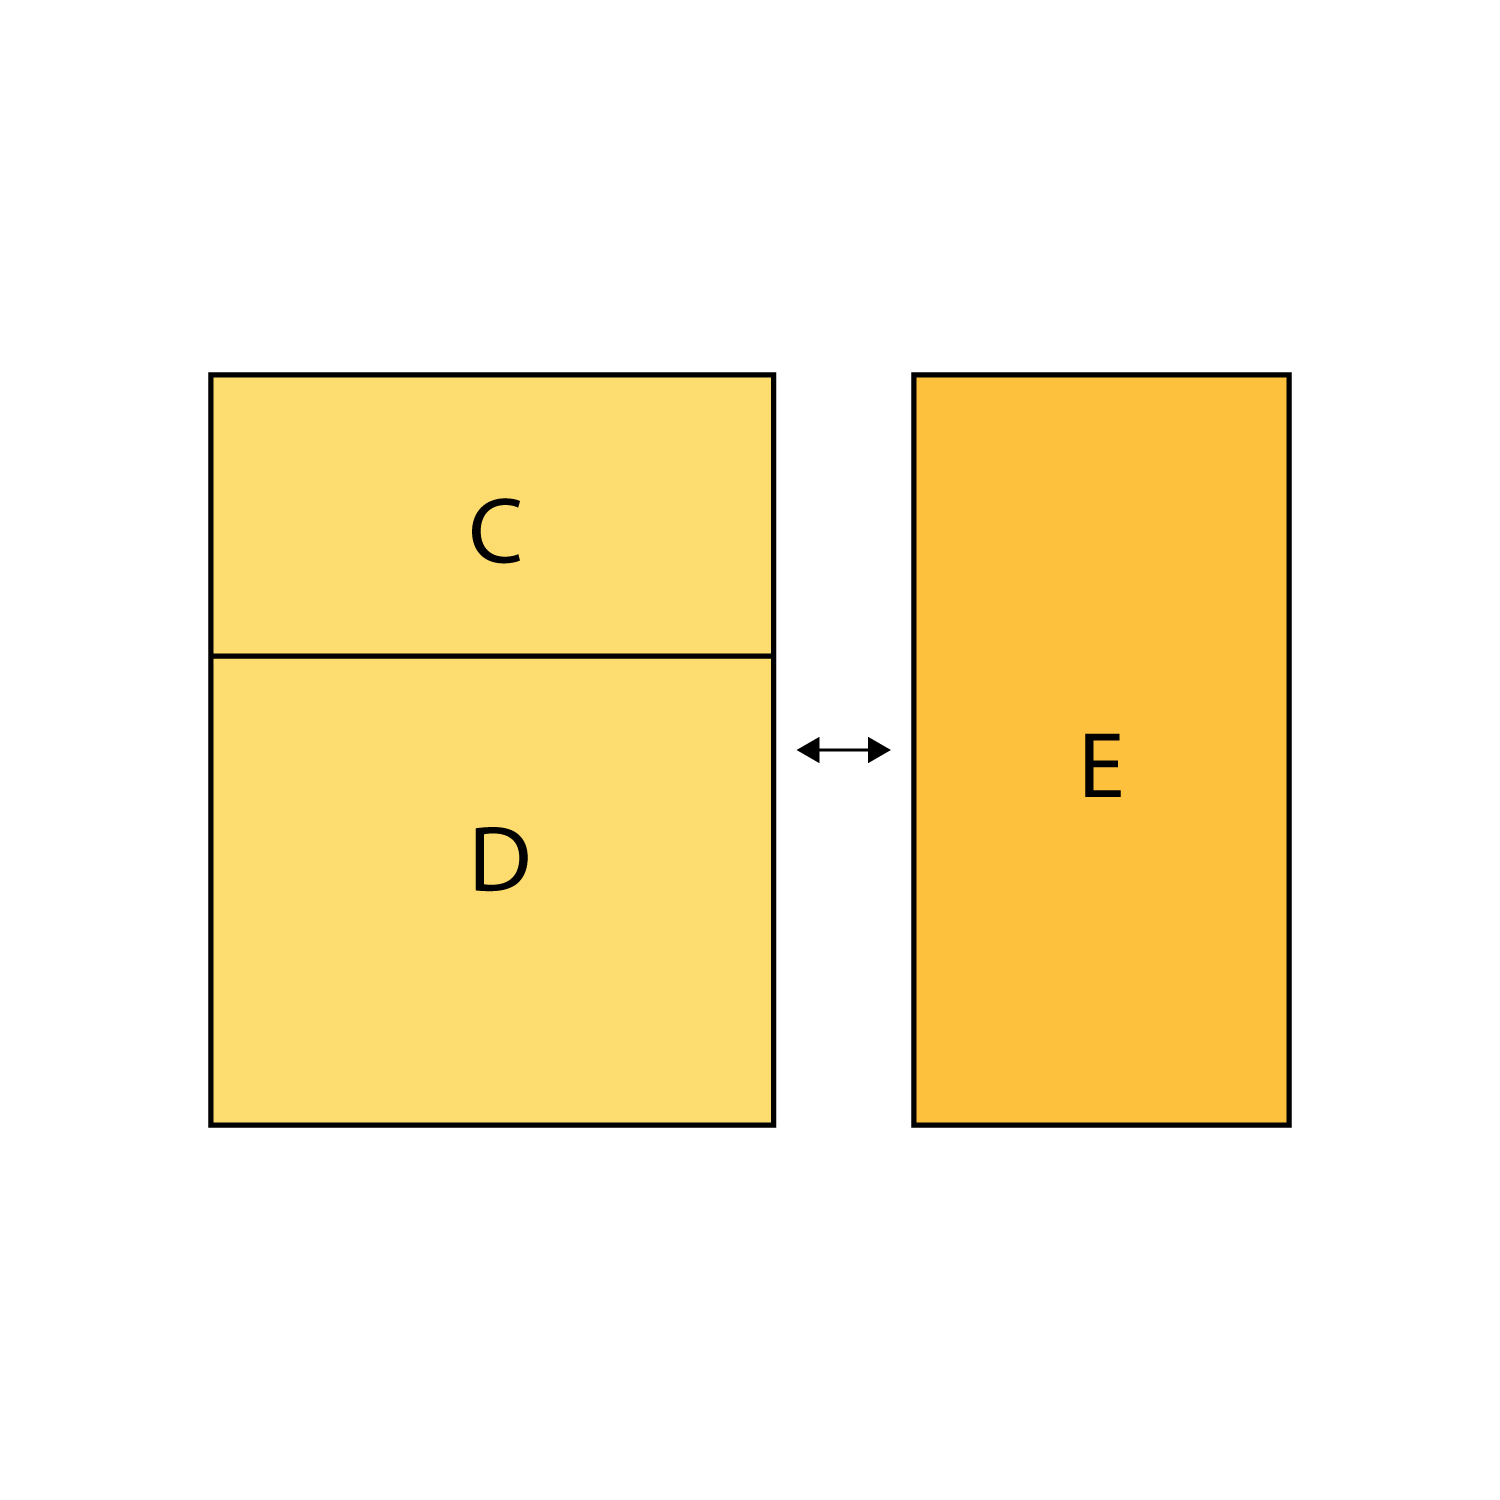
- Sew together pieces C and D.
- Make a horizontal cut through the pieced unit, 1½” from the top.
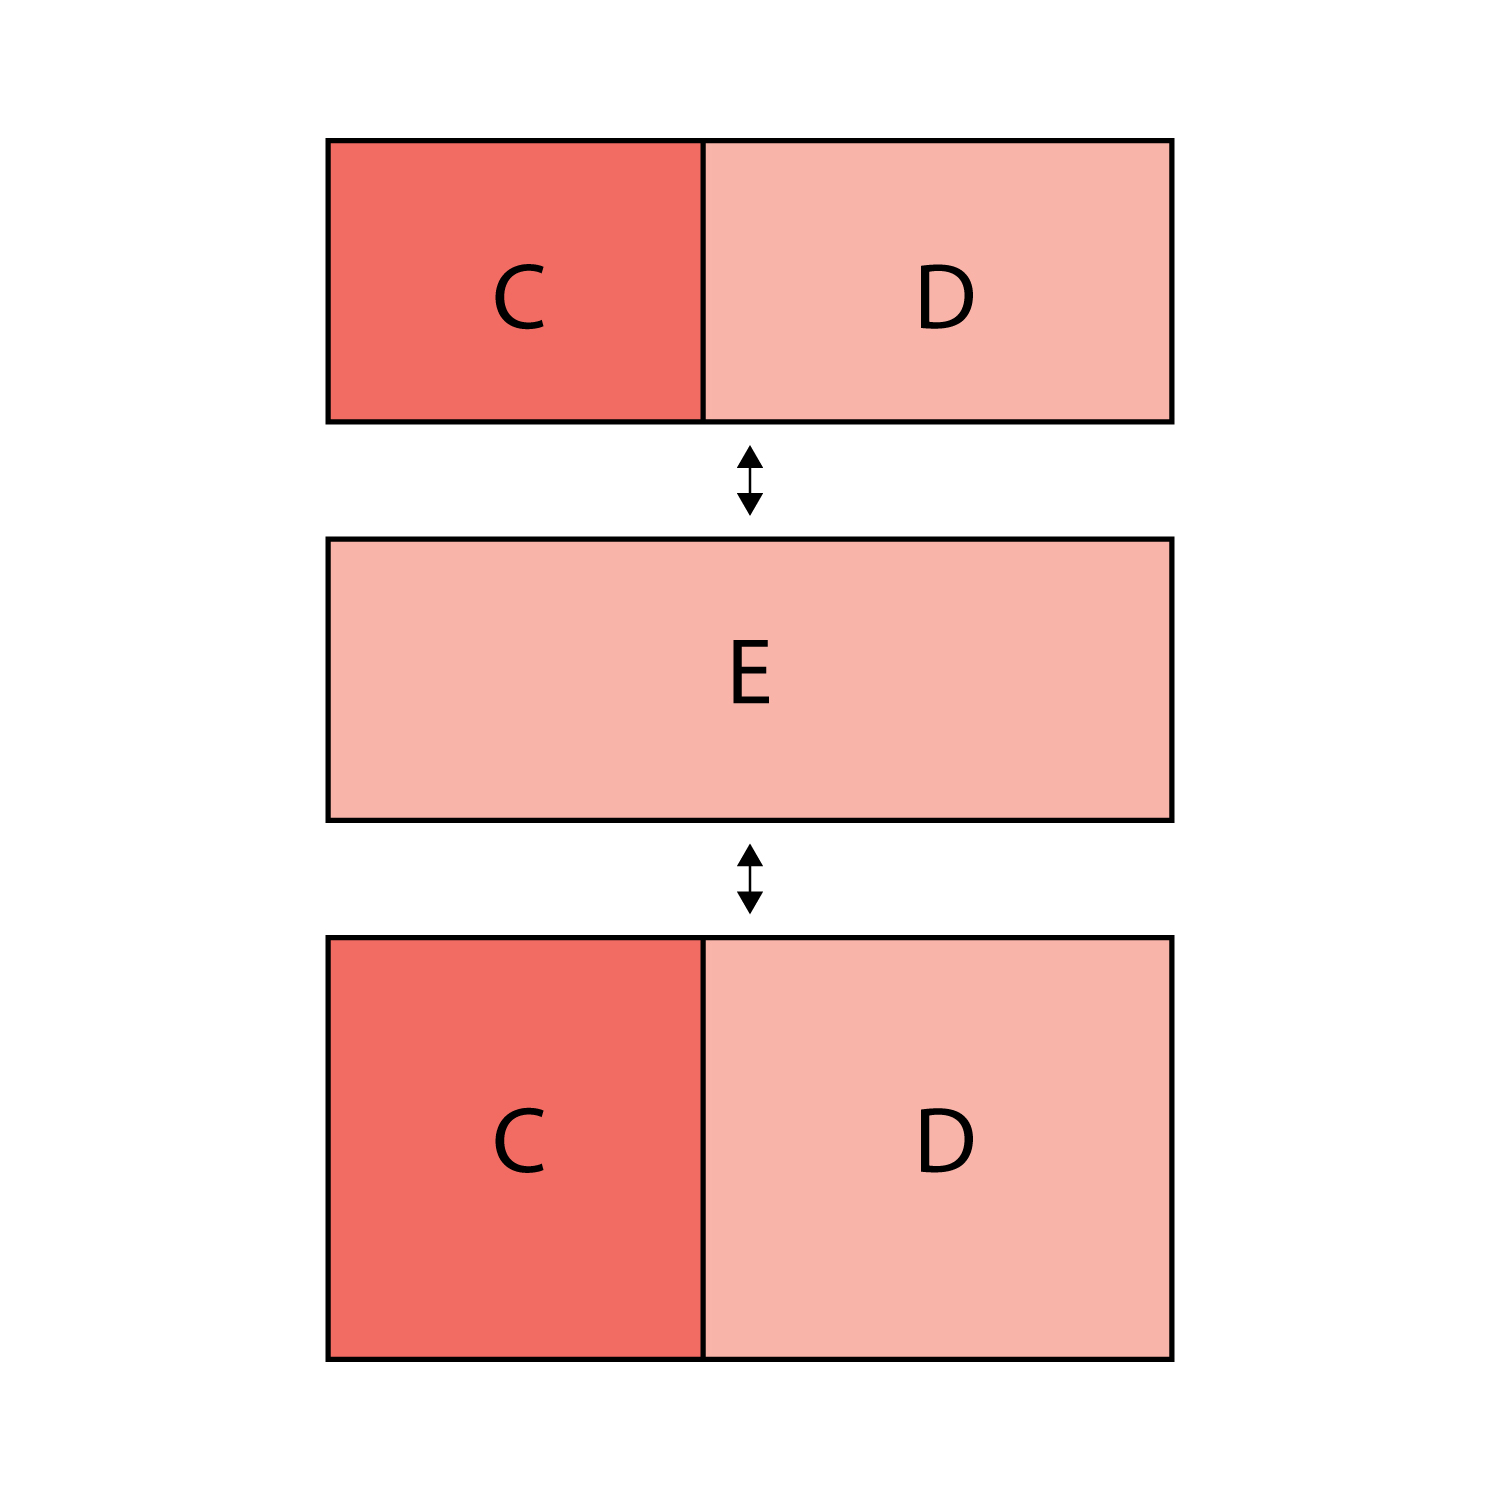
- Sew the top part of the C/D unit to the top of piece E.
- Sew the bottom part of the C/D unit to the bottom of piece E.
- Use pieces A and B and the 2” x 4½” piece of background fabric to make an ear unit, as described in the basic block instructions.
- Make the chin by sewing the 1½” x 1½” pieces of background fabric to the bottom corners of the block, as described in the basic block instructions.
- Sew the ear unit to the top of the block.
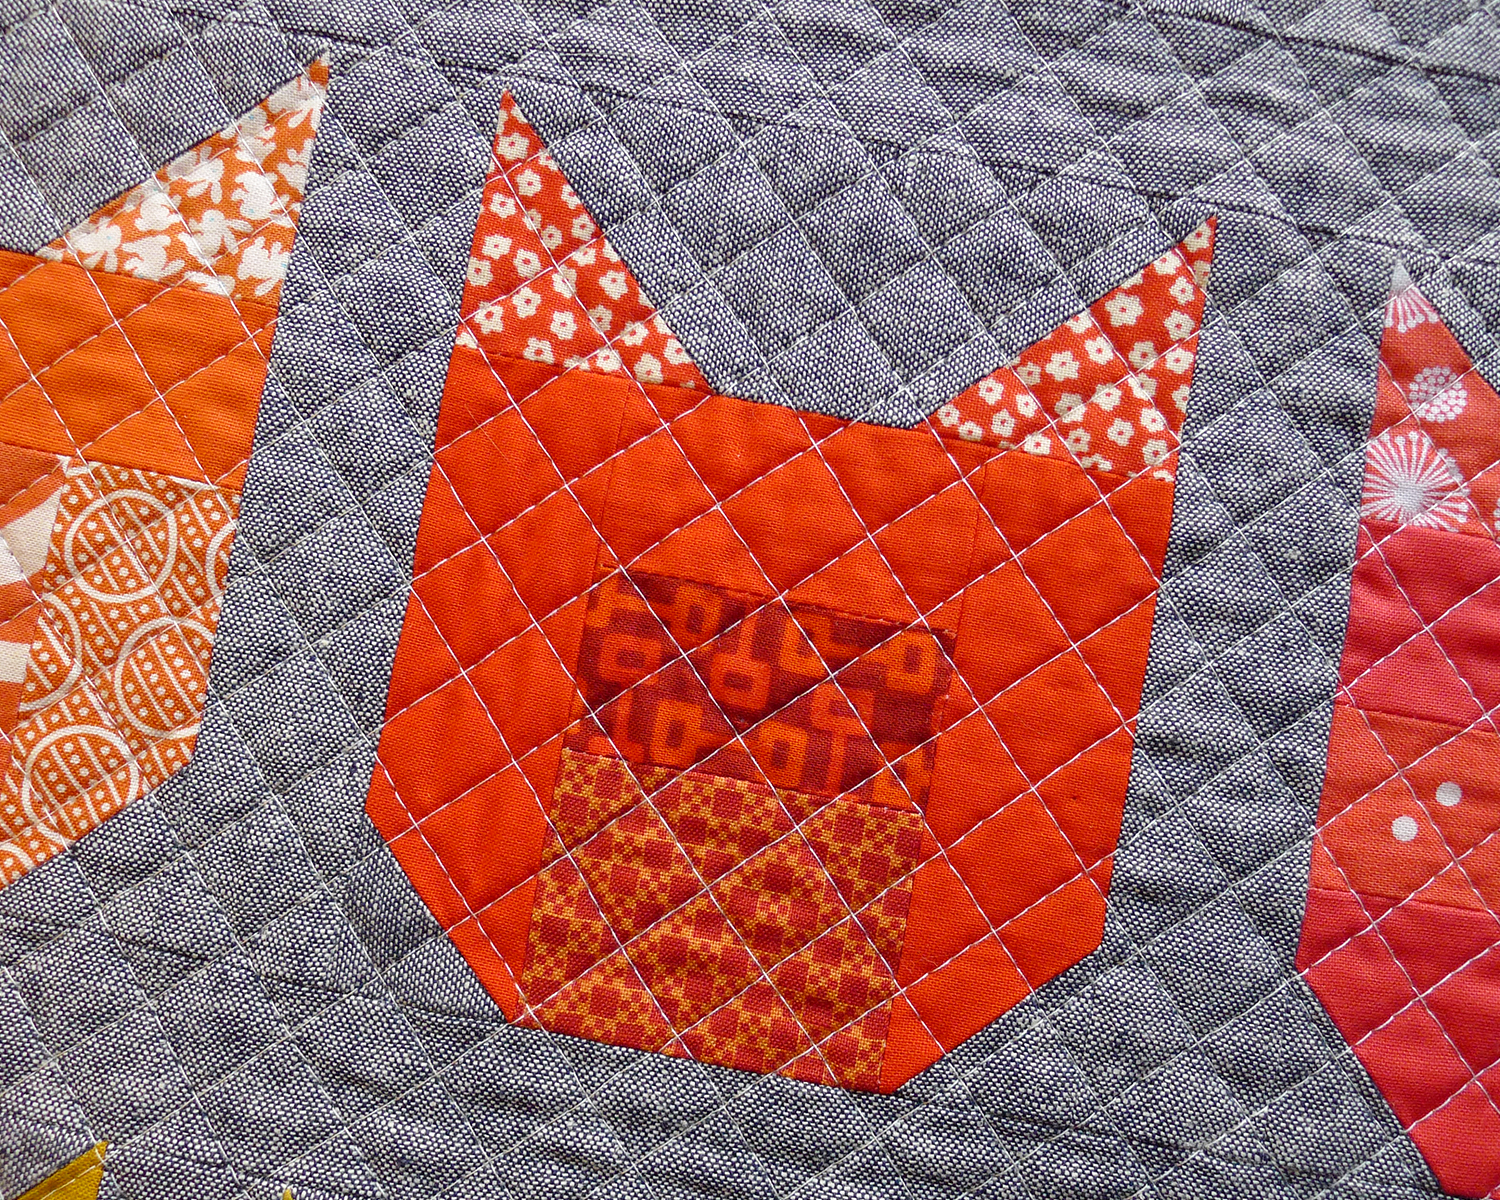
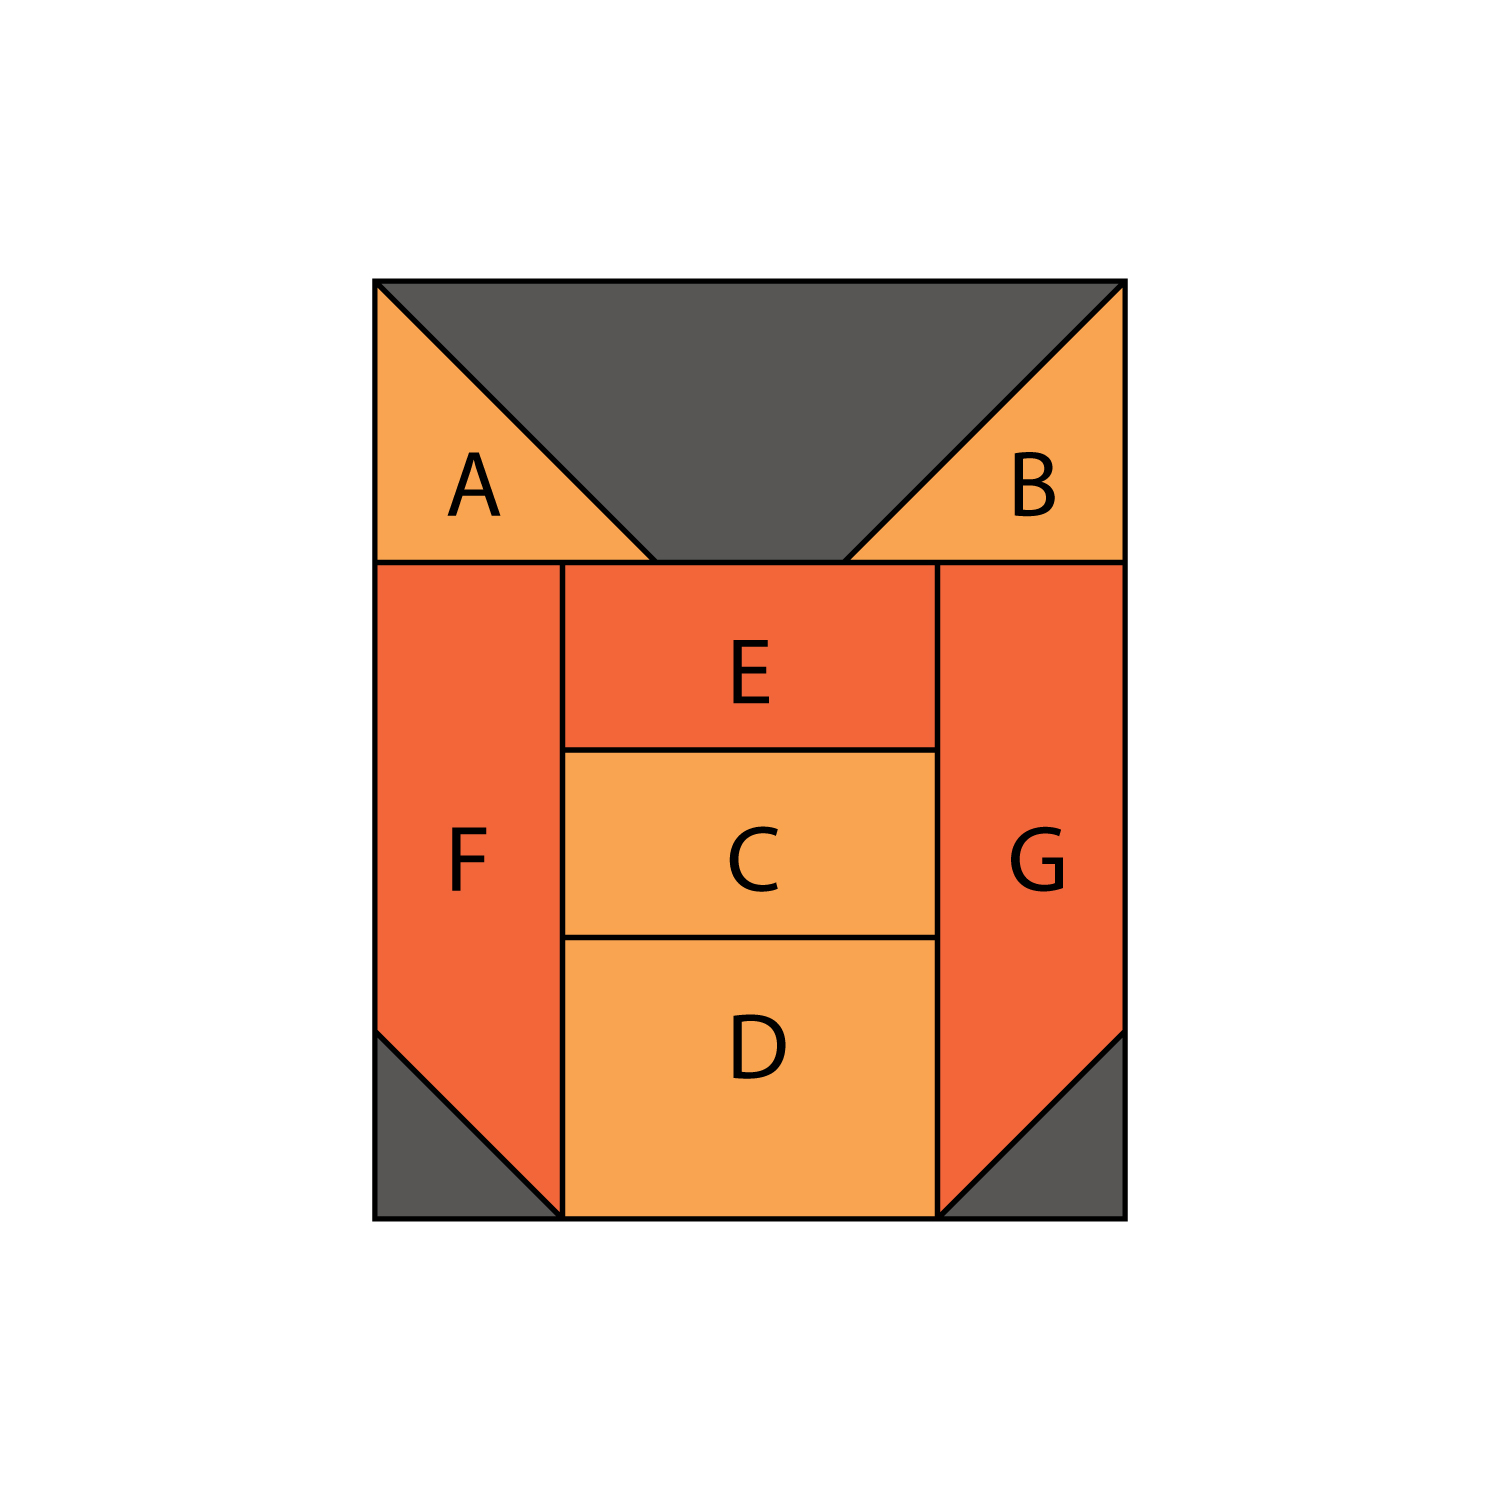
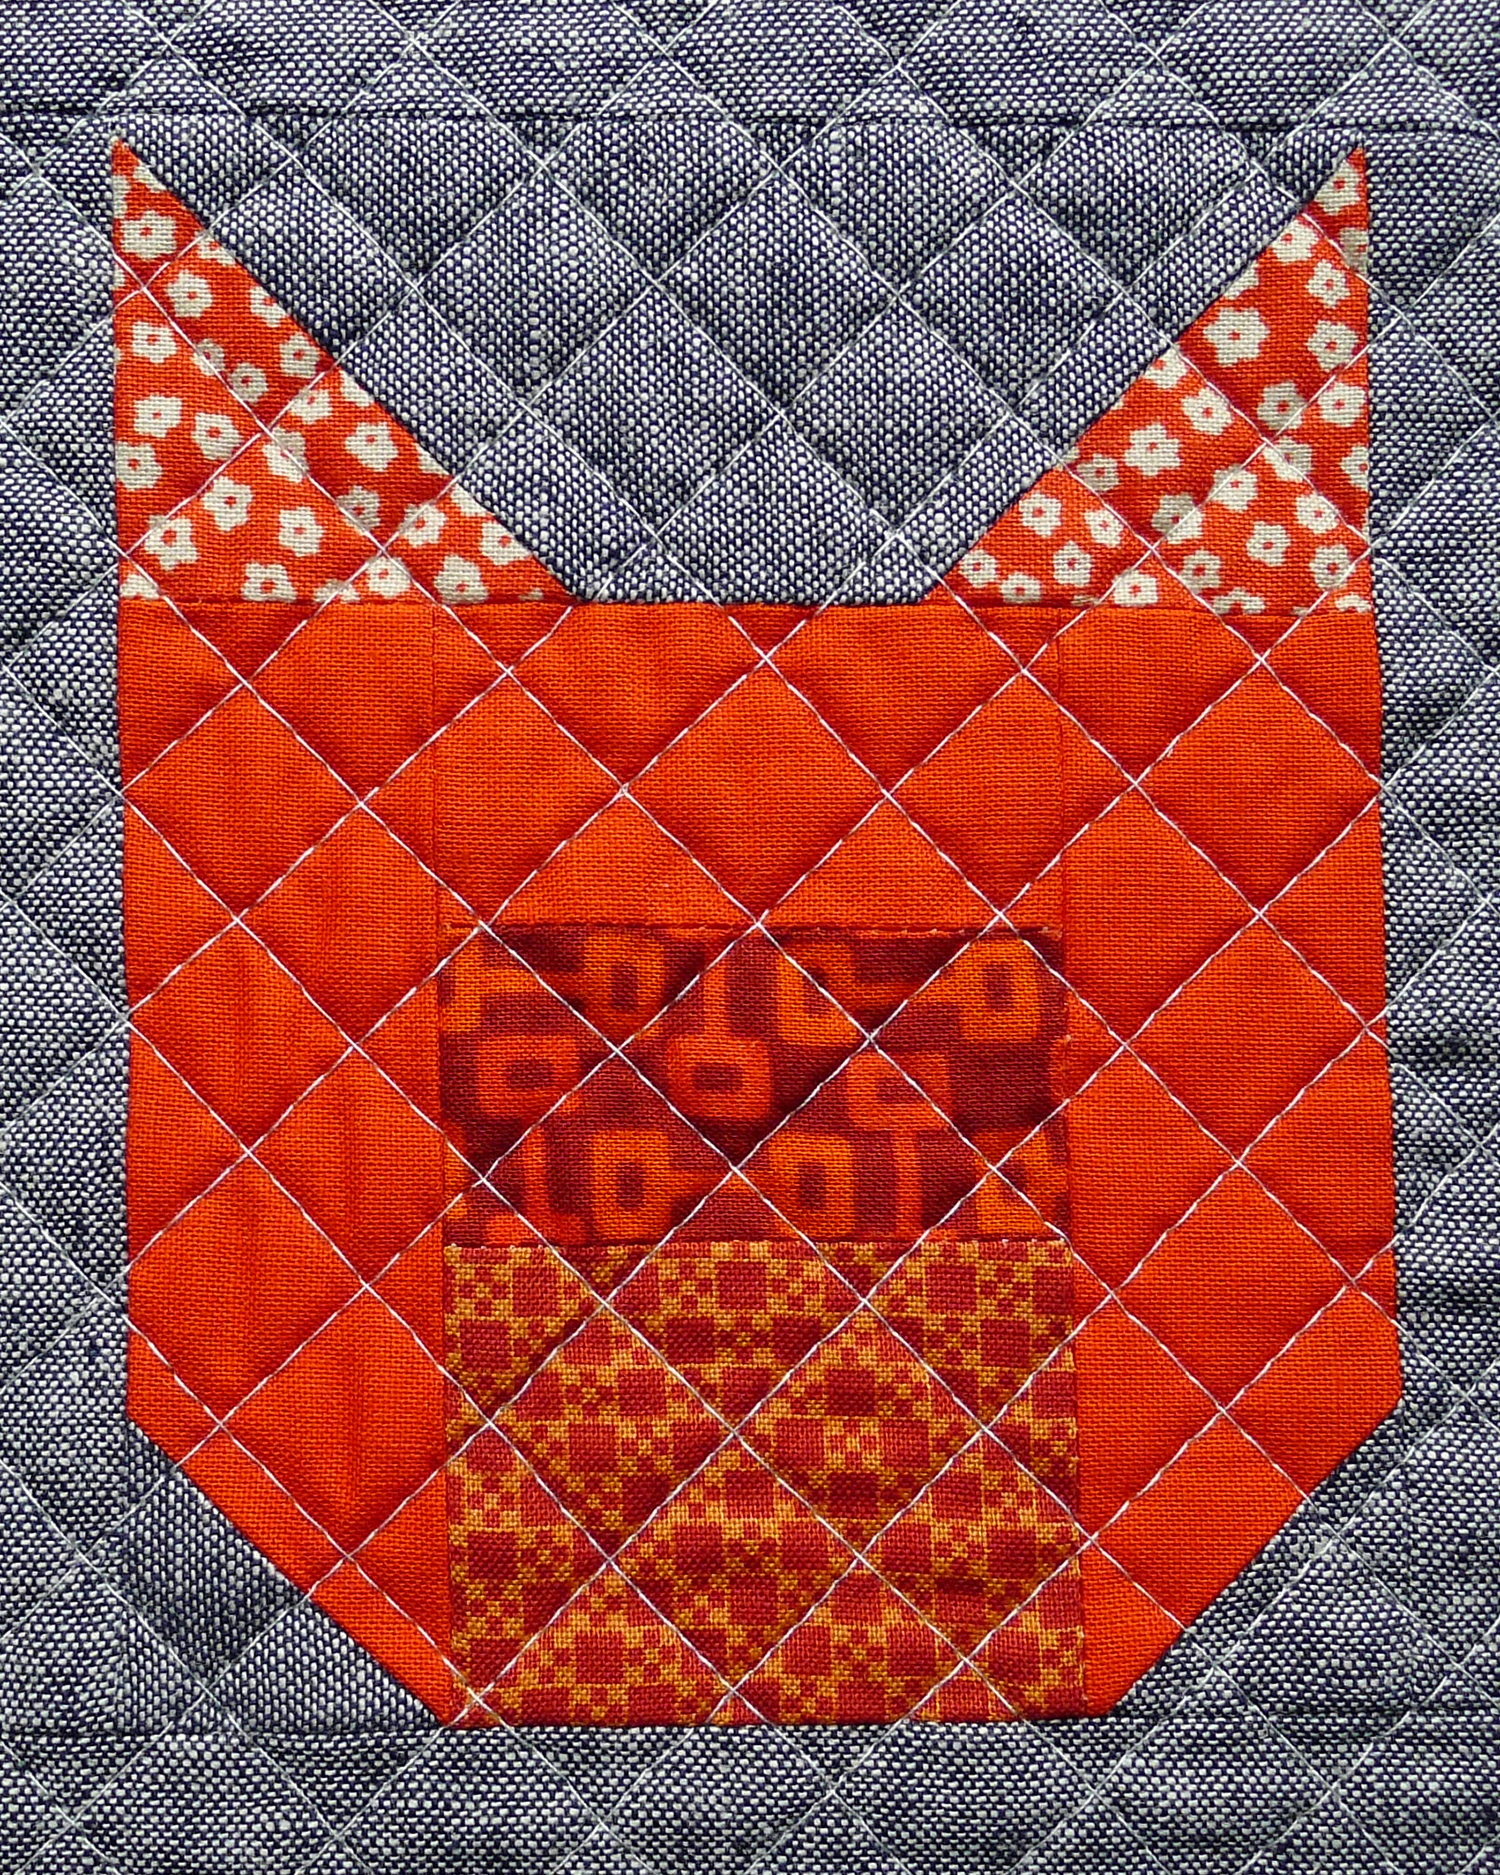
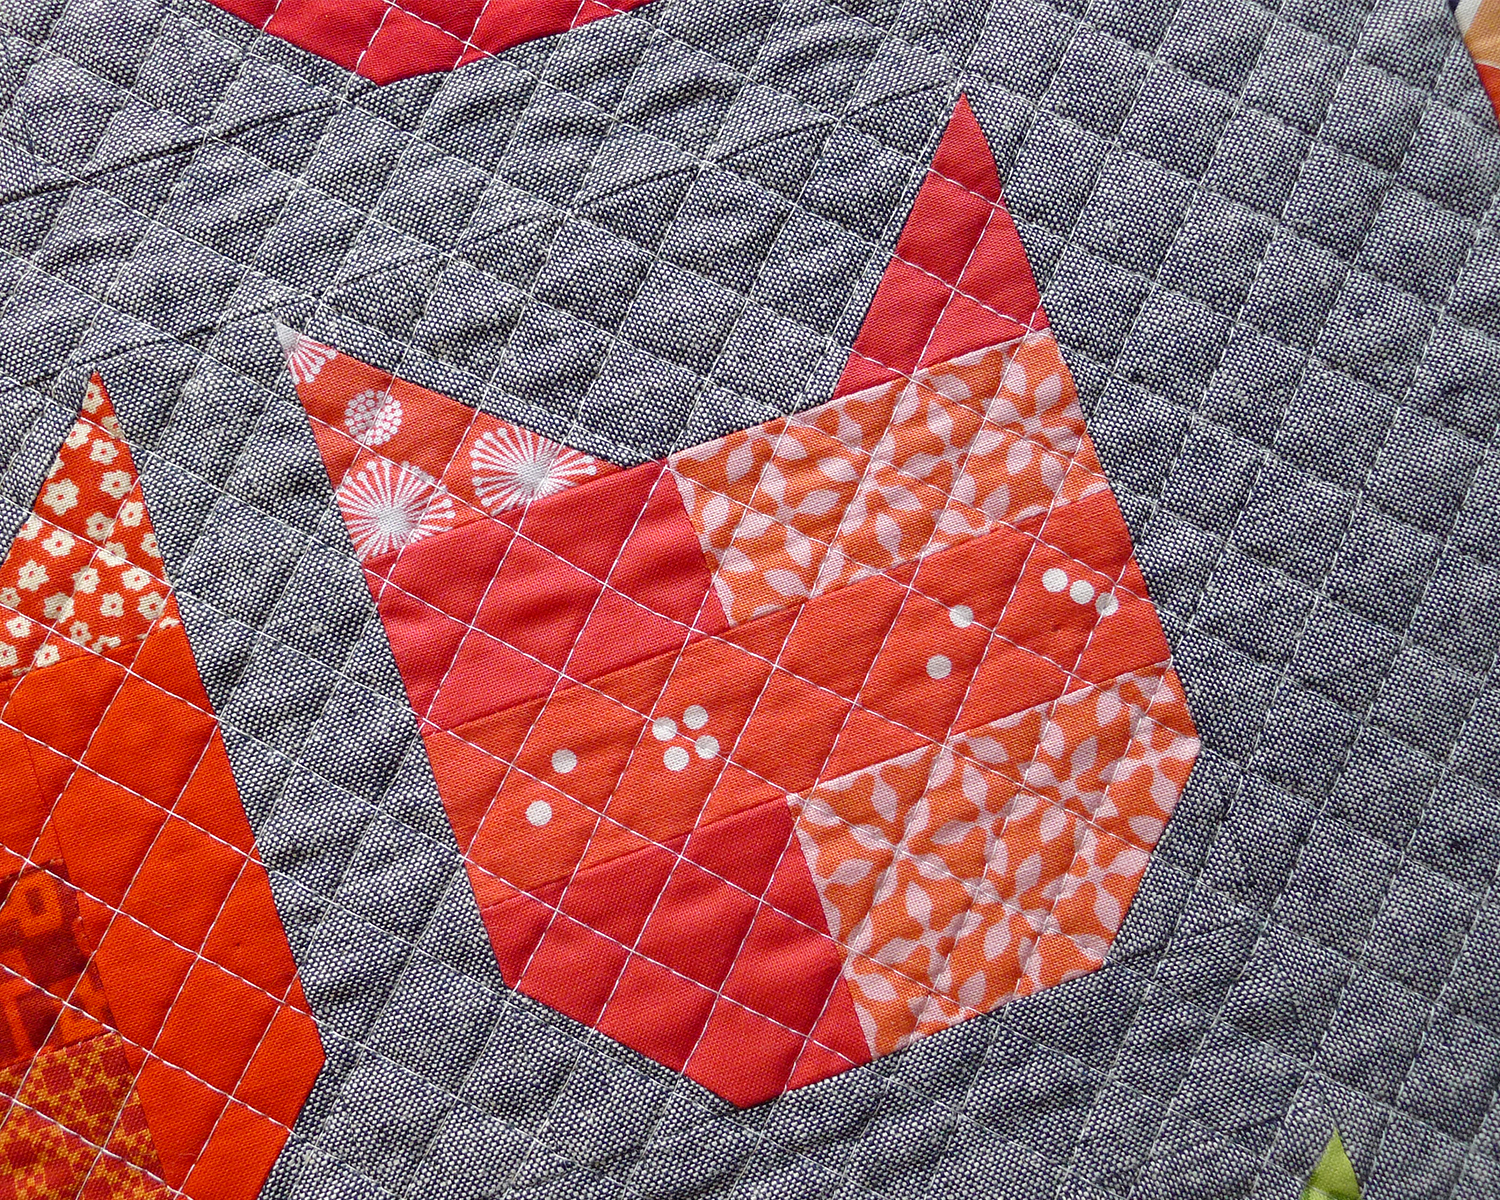
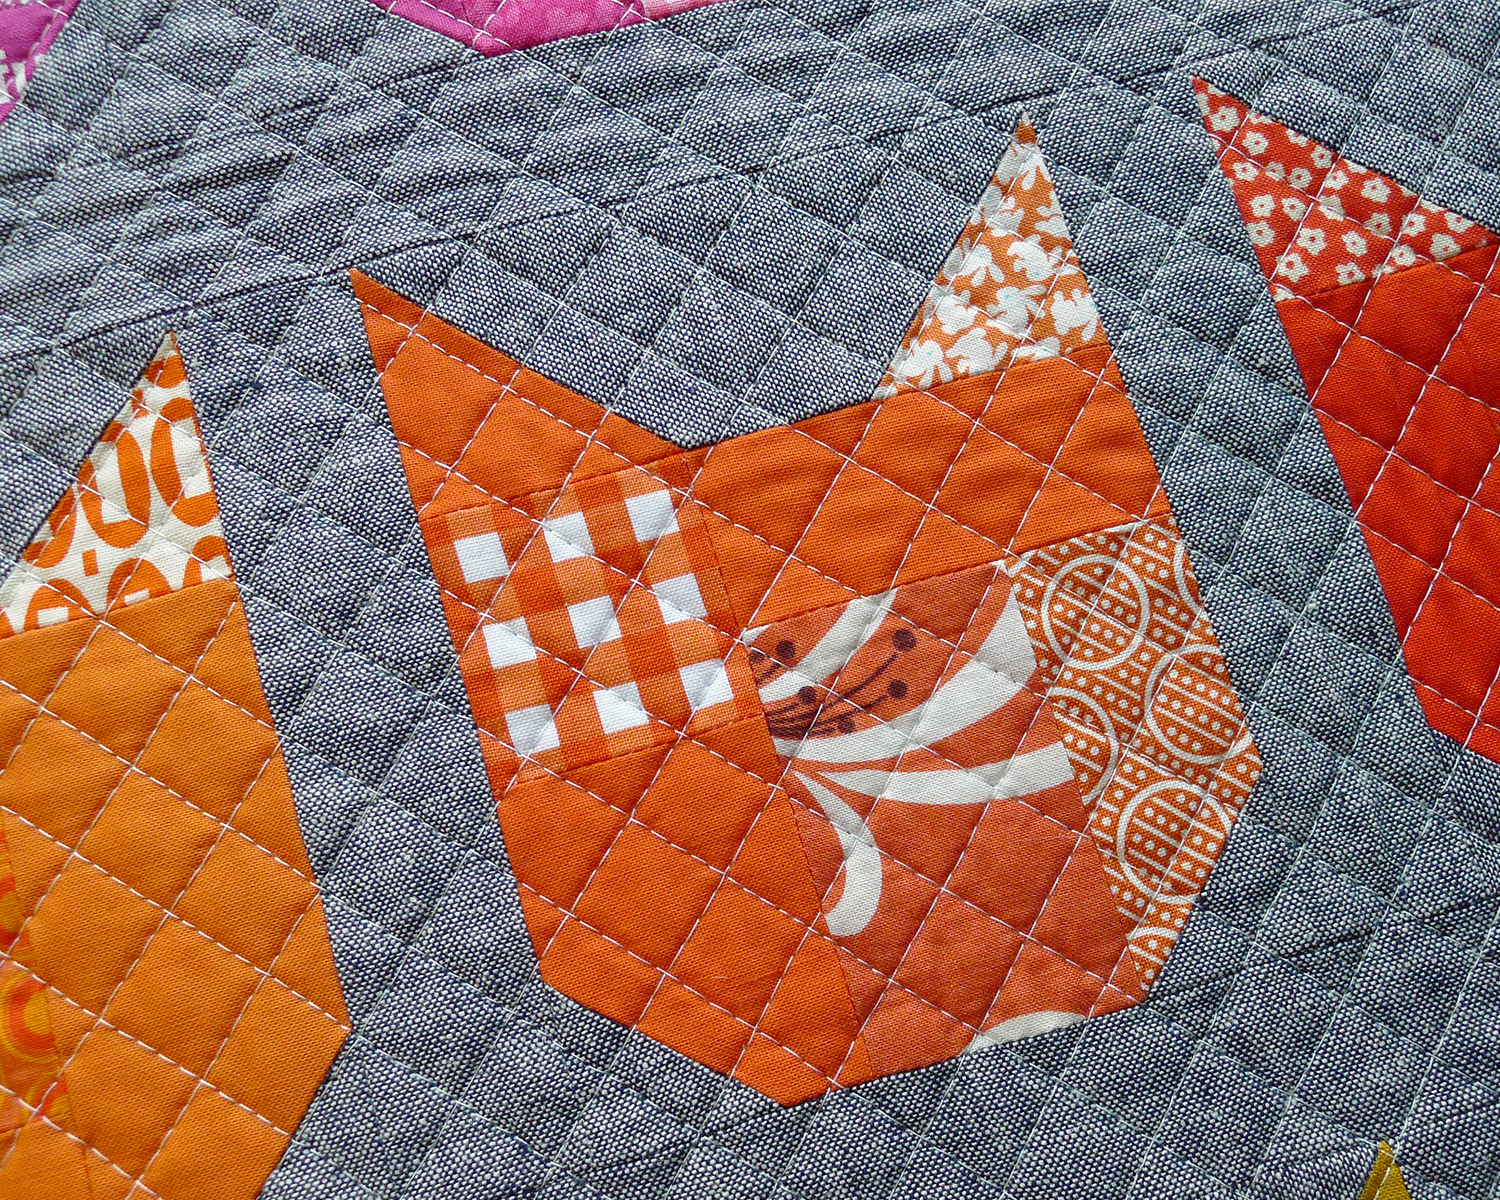
Cat 7: Chowder
Print Fabric Pieces
- A – 2” x 2”
- B – 2” x 2”
- C – 1½” x 2½”
- D – 2” x 2½”
Solid Fabric Pieces
- E – 1½” x 2½”
- F – 1½” x 4”
- G –1½” x 4”
Making the Block
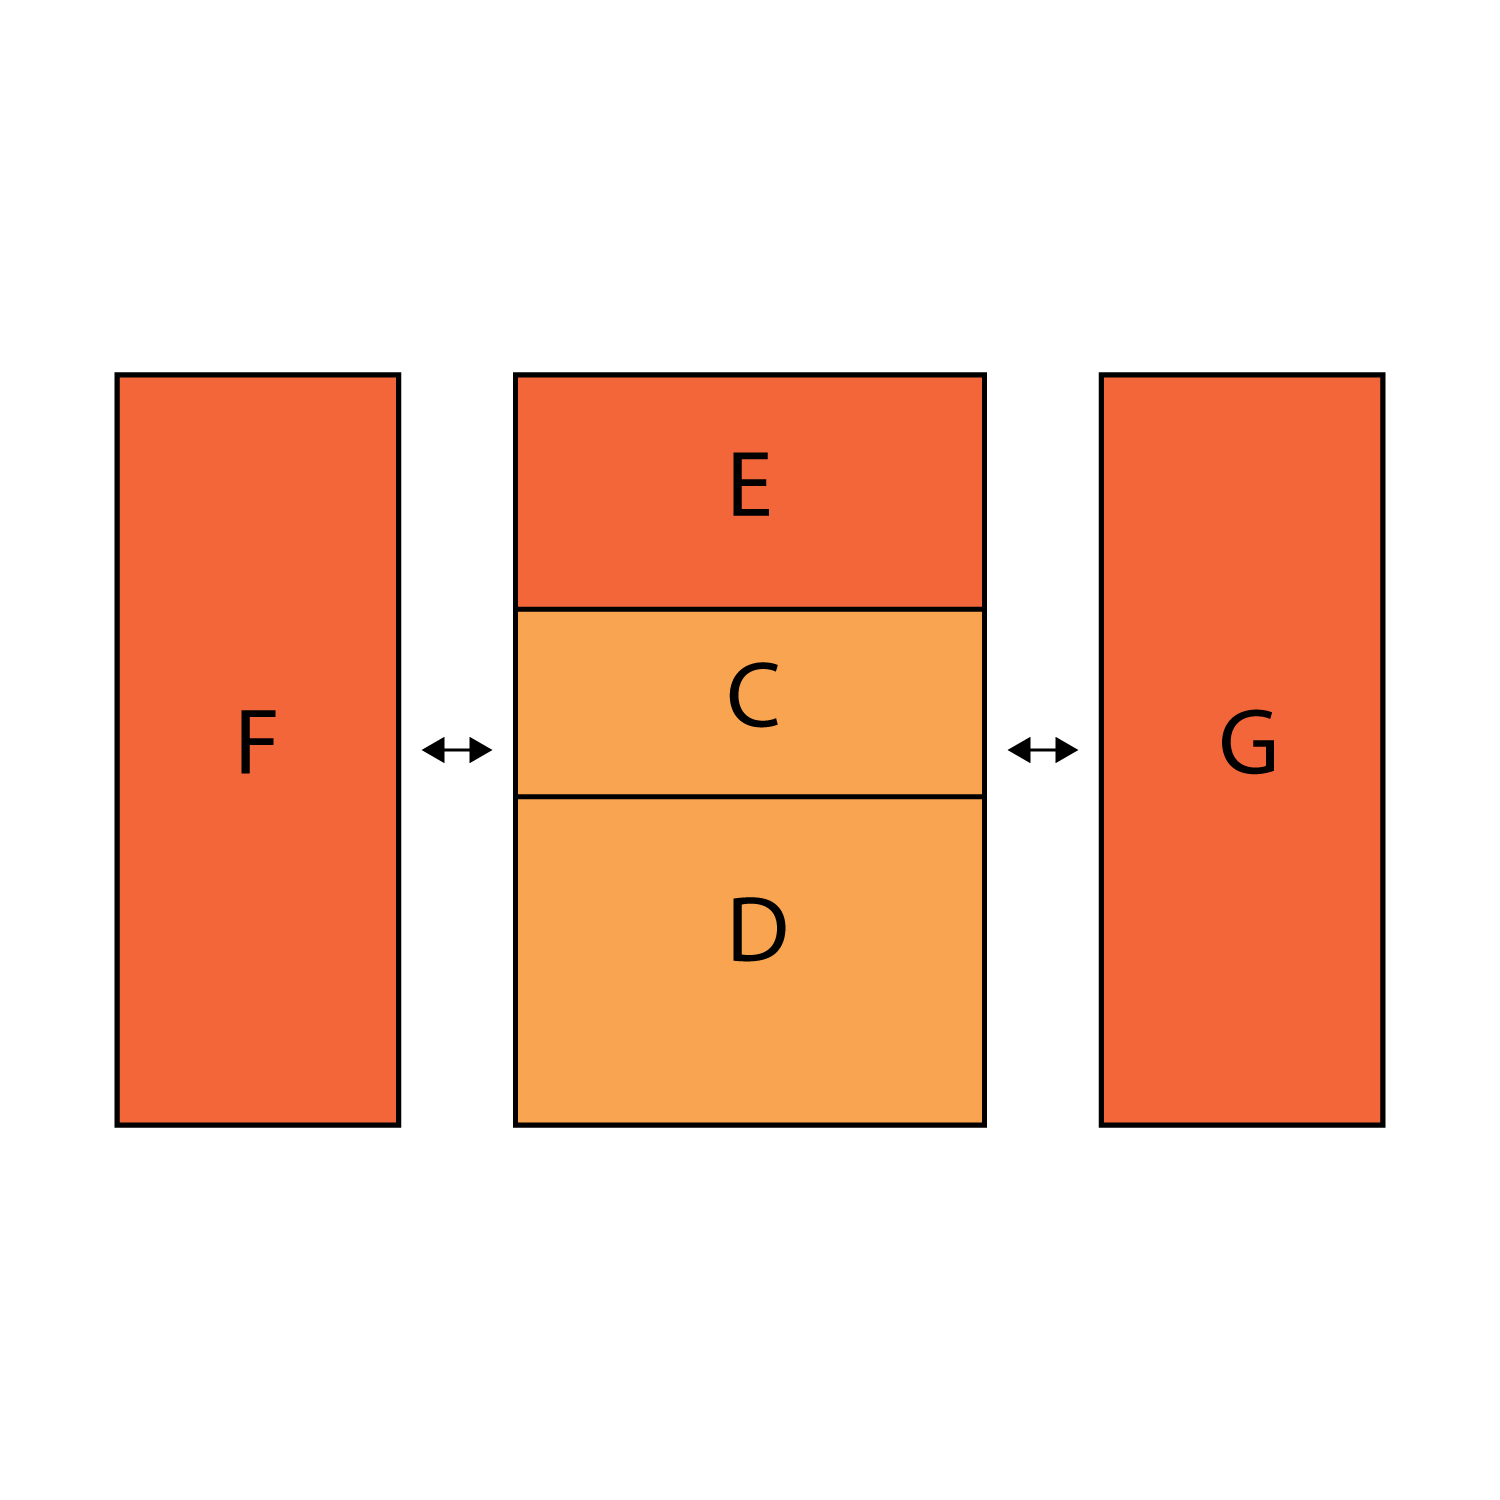
- Sew together pieces C and D.
- Sew piece E to the top of the block.
- Sew piece F to the left and piece G to the right of the block.
- Use pieces A and B and the 2” x 4½” piece of background fabric to make an ear unit, as described in the basic block instructions.
- Make the chin by sewing the 1½” x 1½” pieces of background fabric to the bottom corners of the block, as described in the basic block instructions.
- Sew the ear unit to the top of the block.

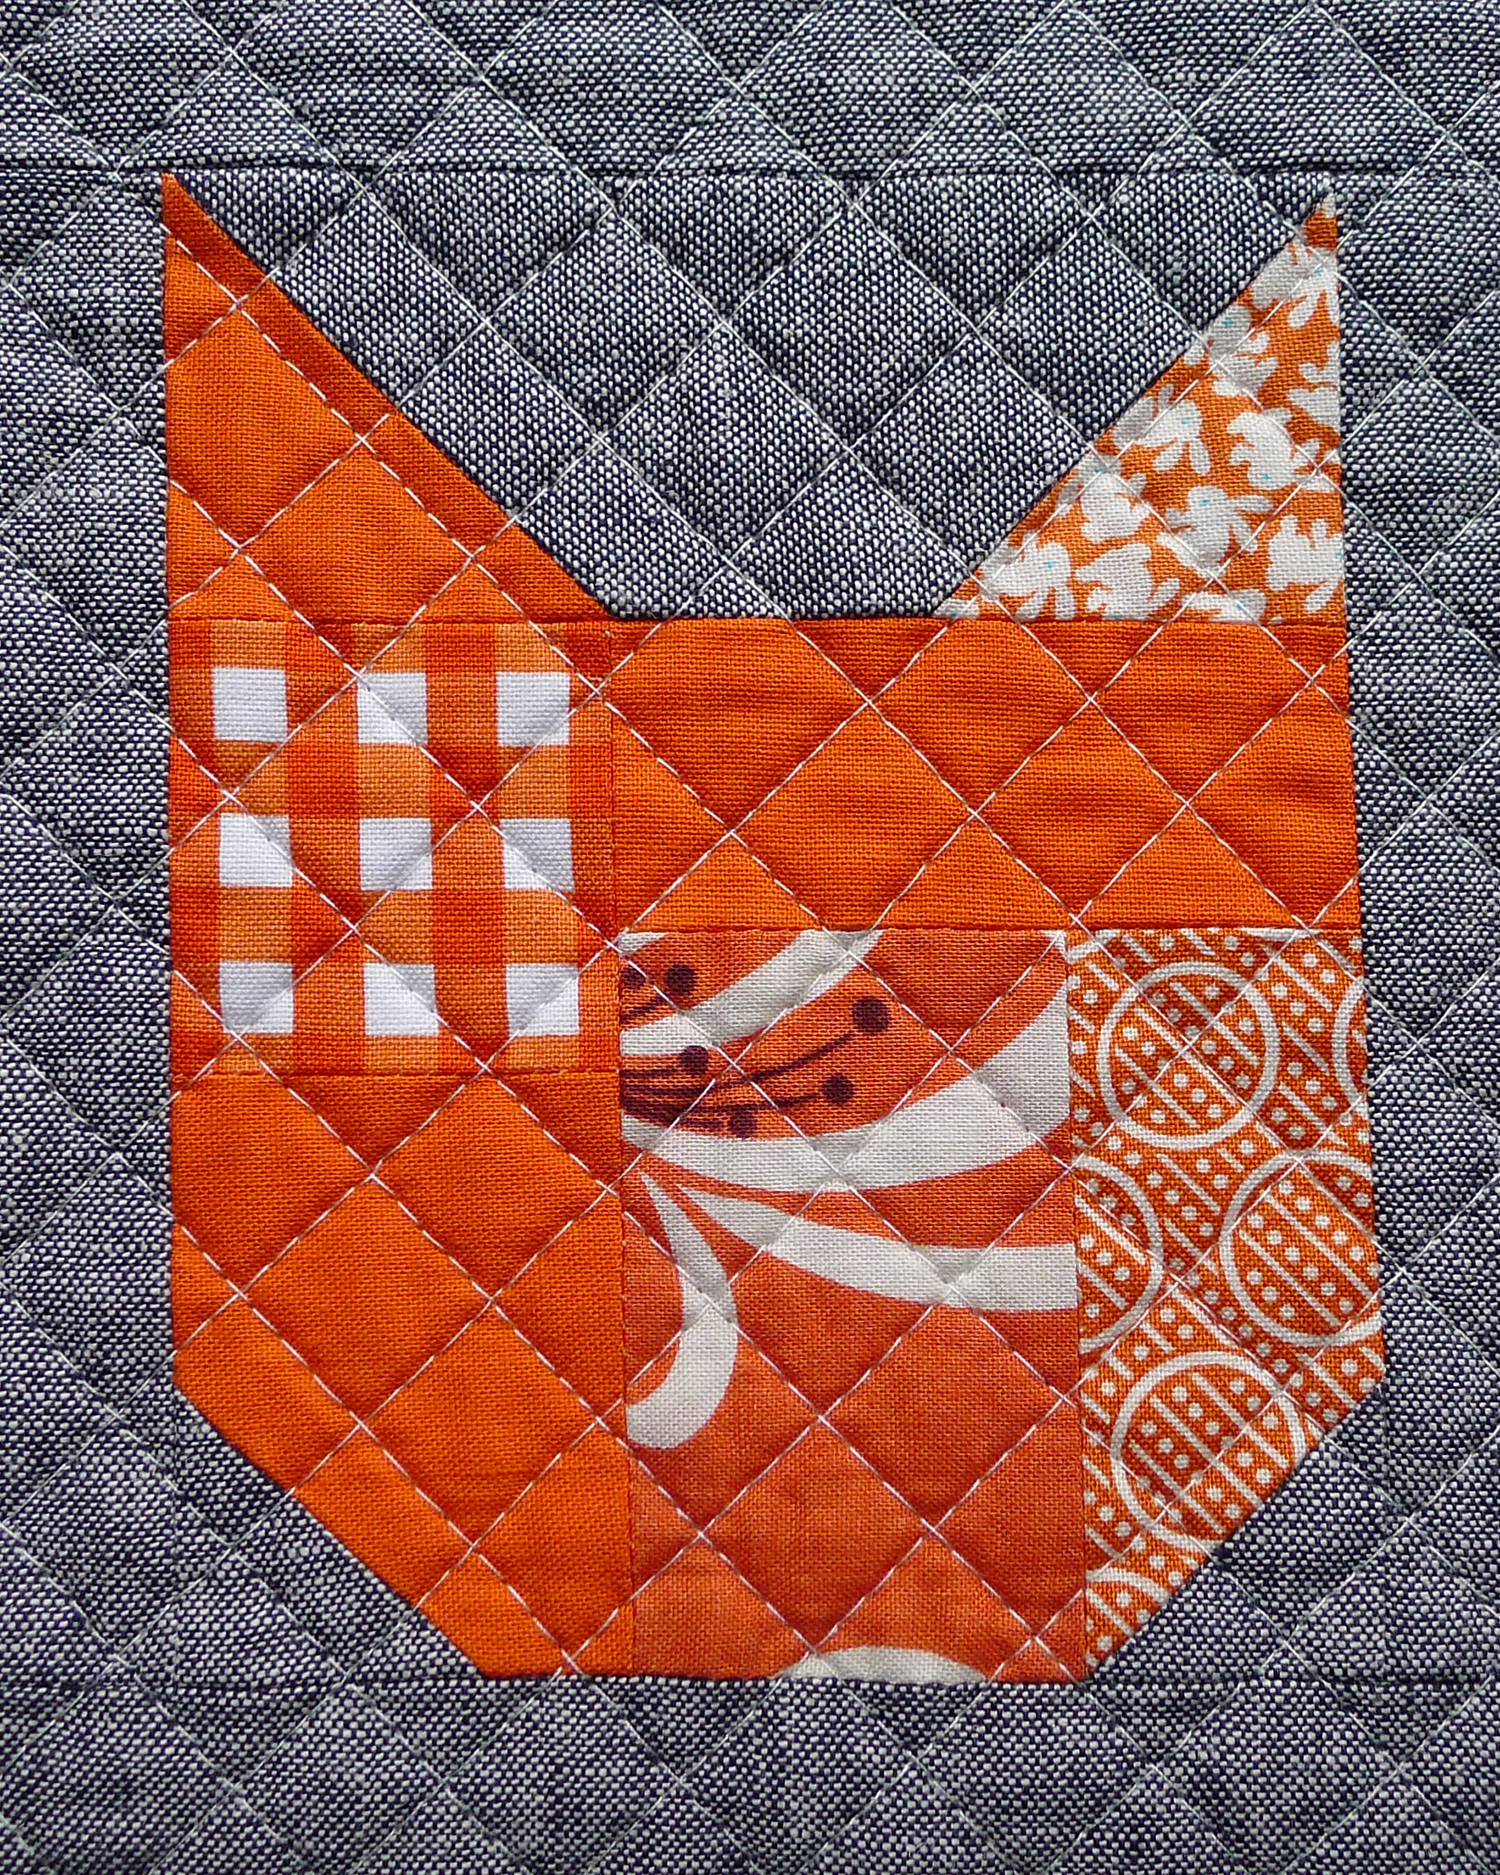
Cat 8: Jennifer
Print Fabric Pieces
- B – 2” x 2”
- C – 2” x 2”
- E – 2” x 3”
- F – 1½” x 3”
Solid Fabric Pieces
- A – 2” x 2”
- D – 2” x 2½”
- G – 1½” x 3”
Making the Block
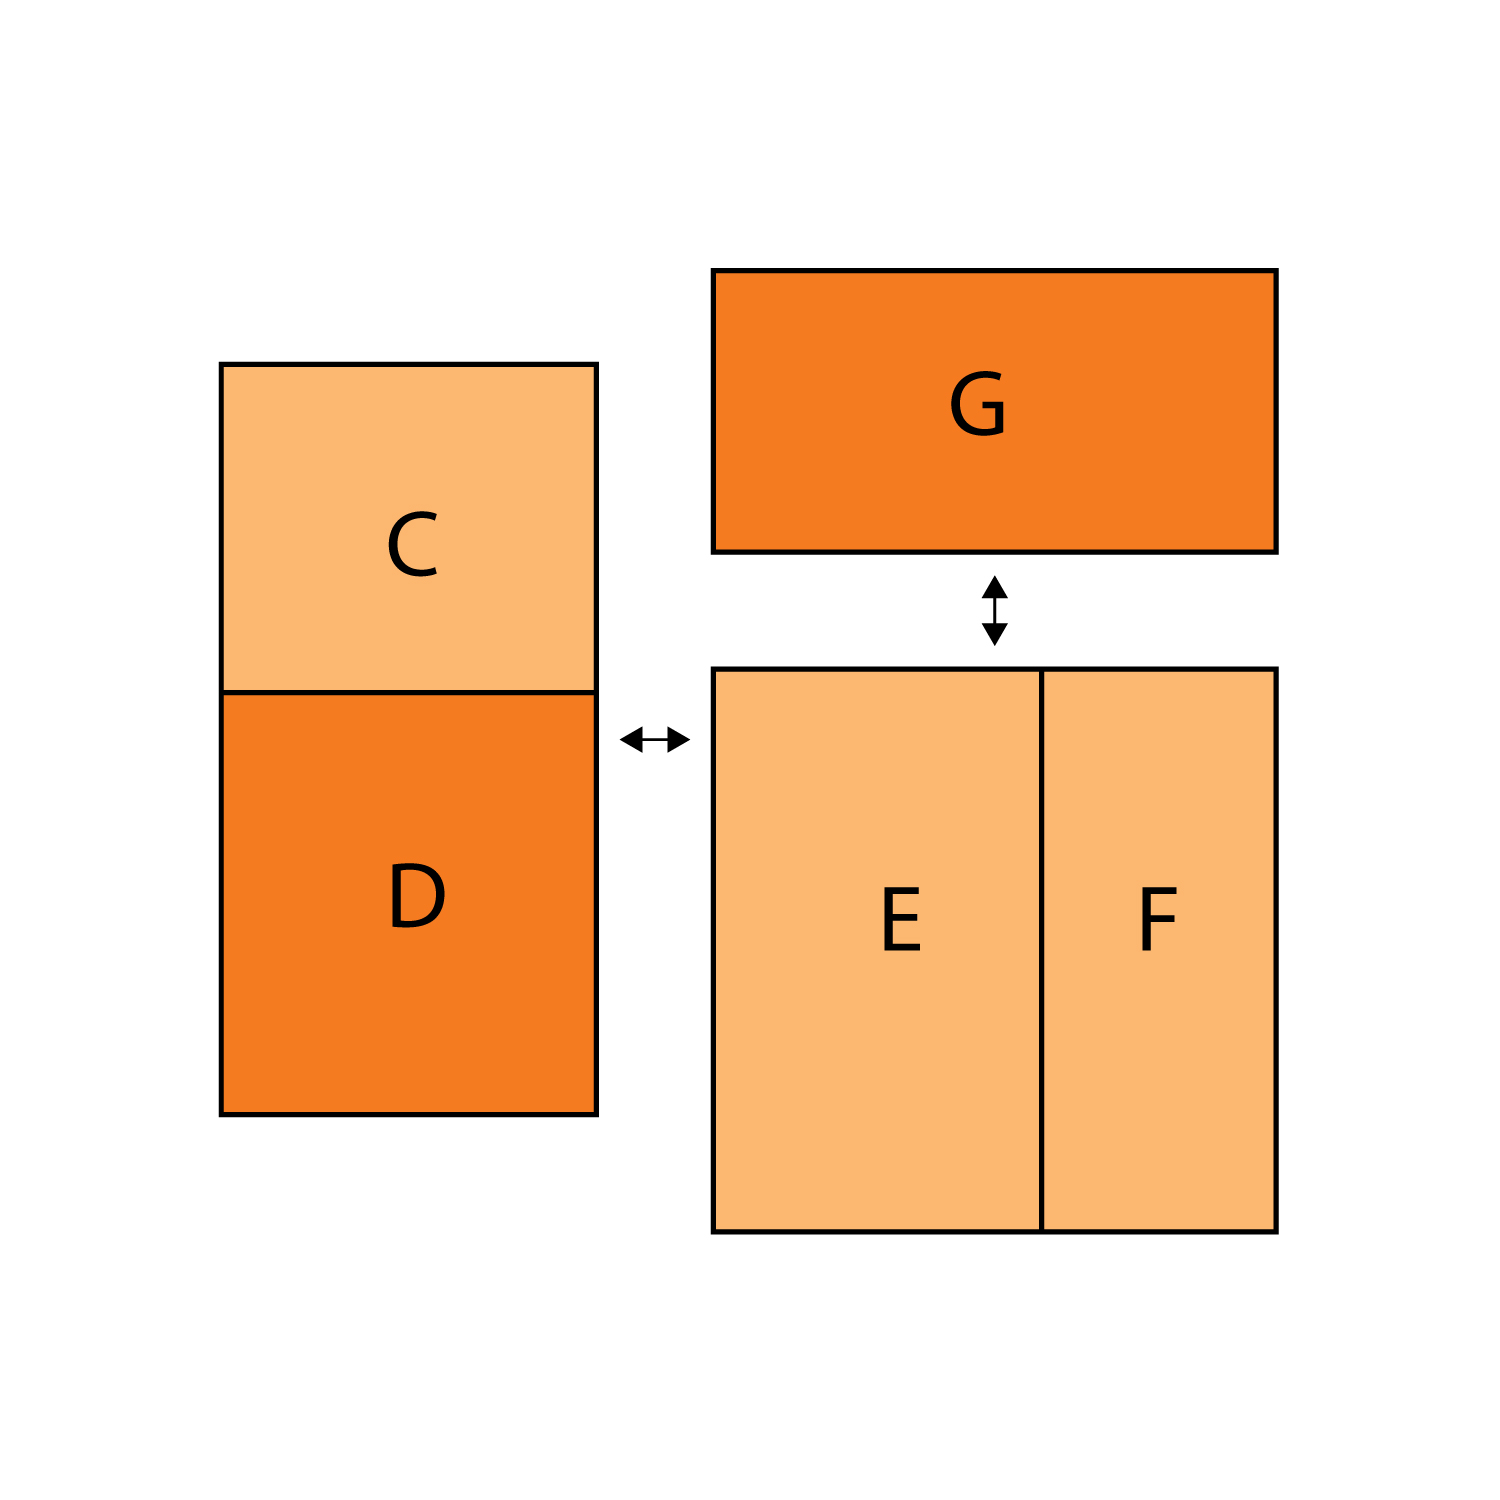
- Sew together pieces C and D.
- Sew together pieces E and F.
- Sew the E/F unit to the bottom of piece G.
- Sew the C/D unit to the left side of the block.
- Use pieces A and B and the 2” x 4½” piece of background fabric to make an ear unit, as described in the basic block instructions.
- Make the chin by sewing the 1½” x 1½” pieces of background fabric to the bottom corners of the block, as described in the basic block instructions.
- Sew the ear unit to the top of the block.
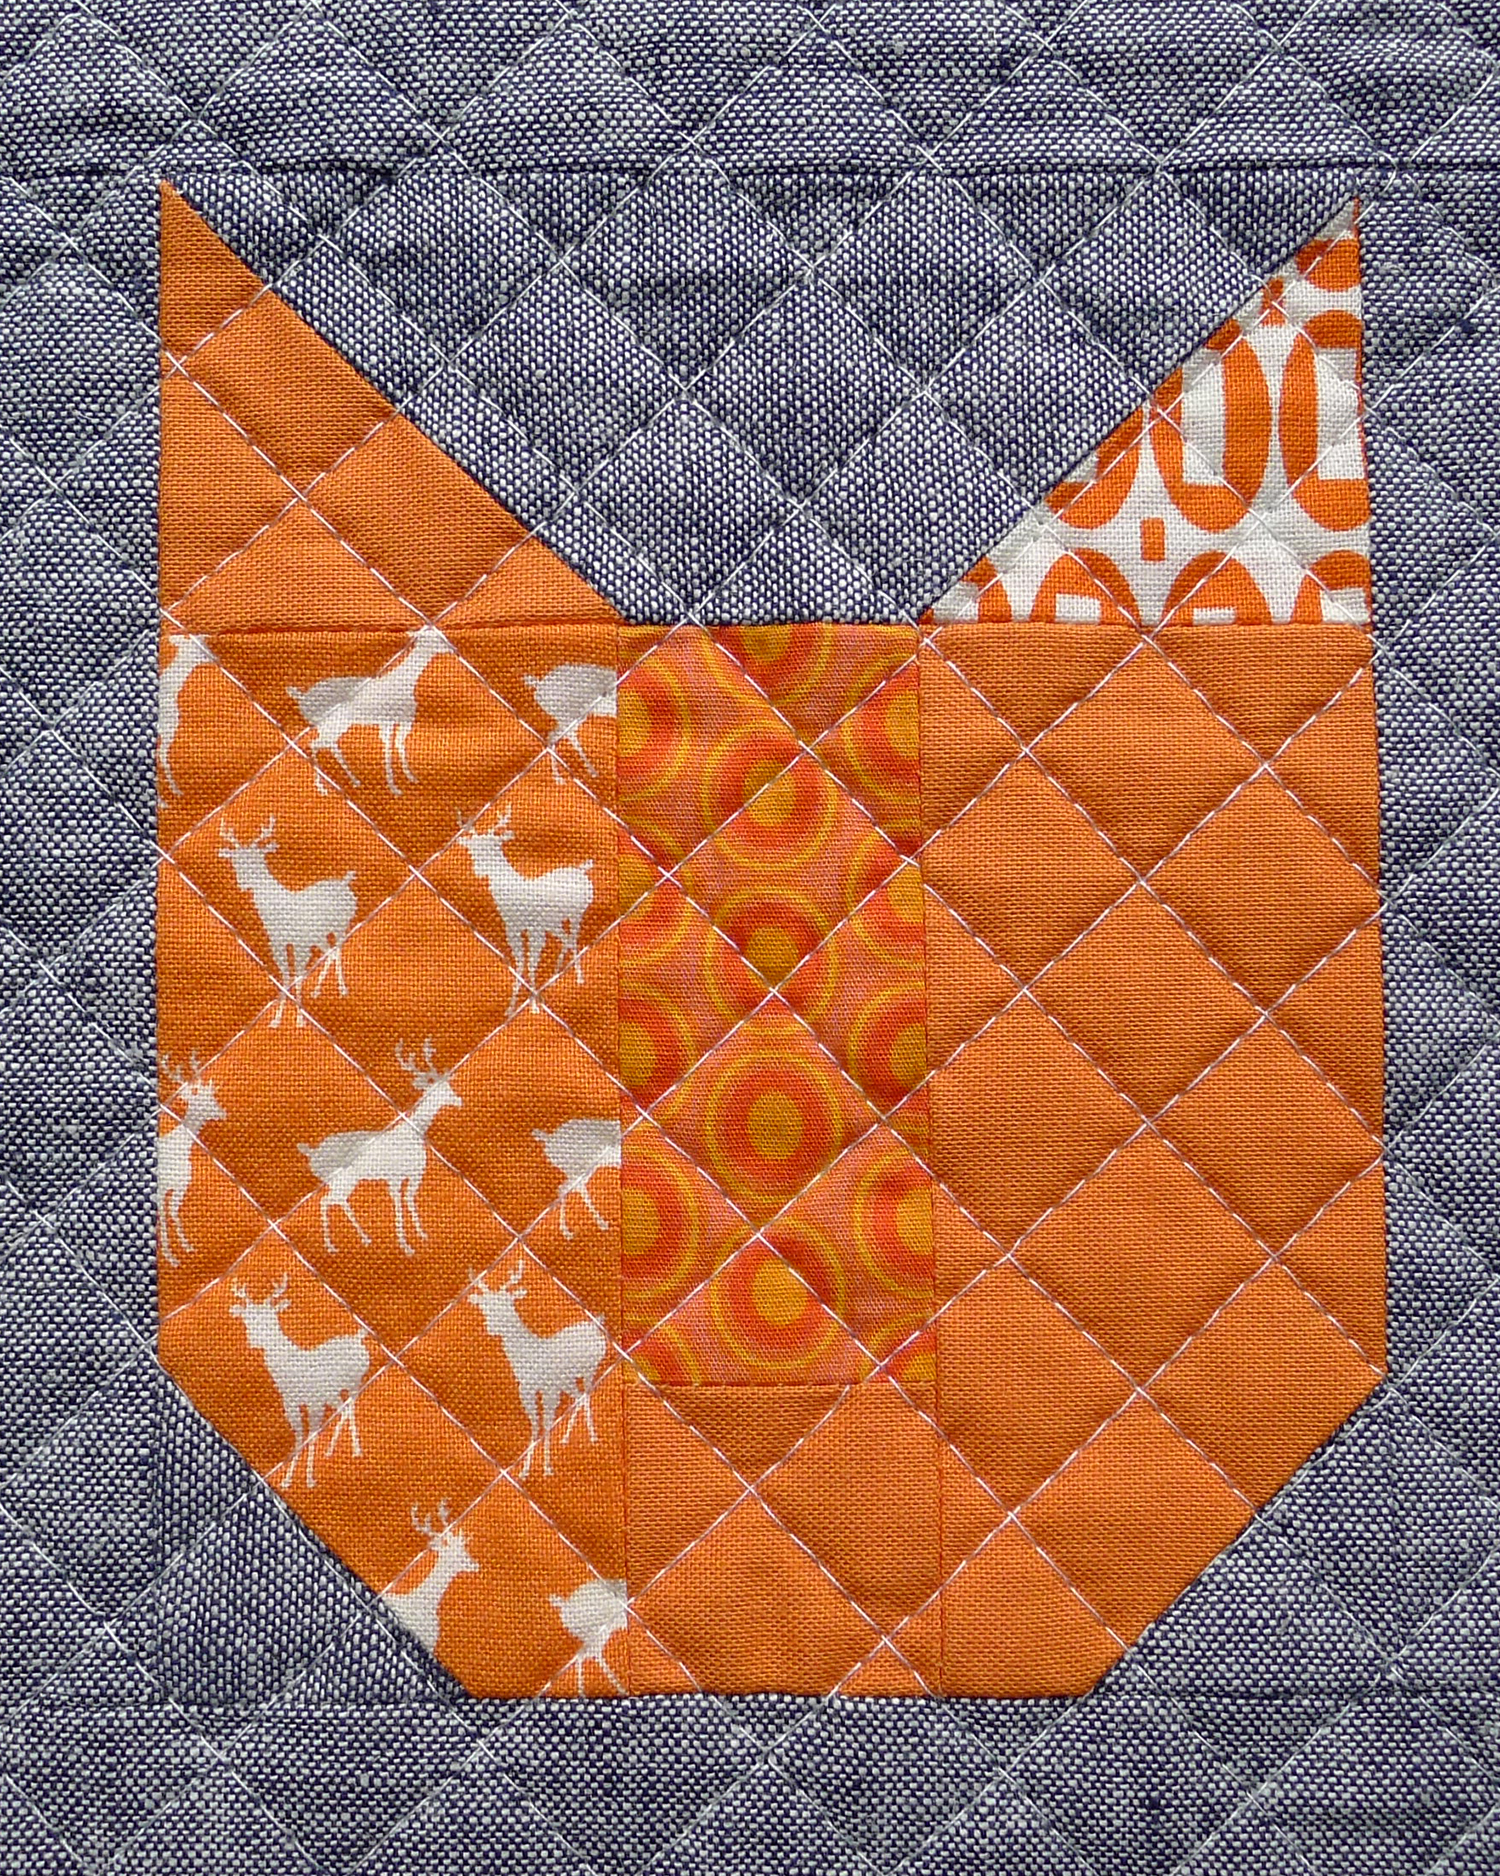
Cat 9: Cannon
Print Fabric Pieces
- B – 2” x 2”
- D – 1½ x 3”
- E – 2” x 4”
Solid Fabric Pieces
- A – 2” x 2”
- C – 1½” x 1½”
- F – 2” x 4”
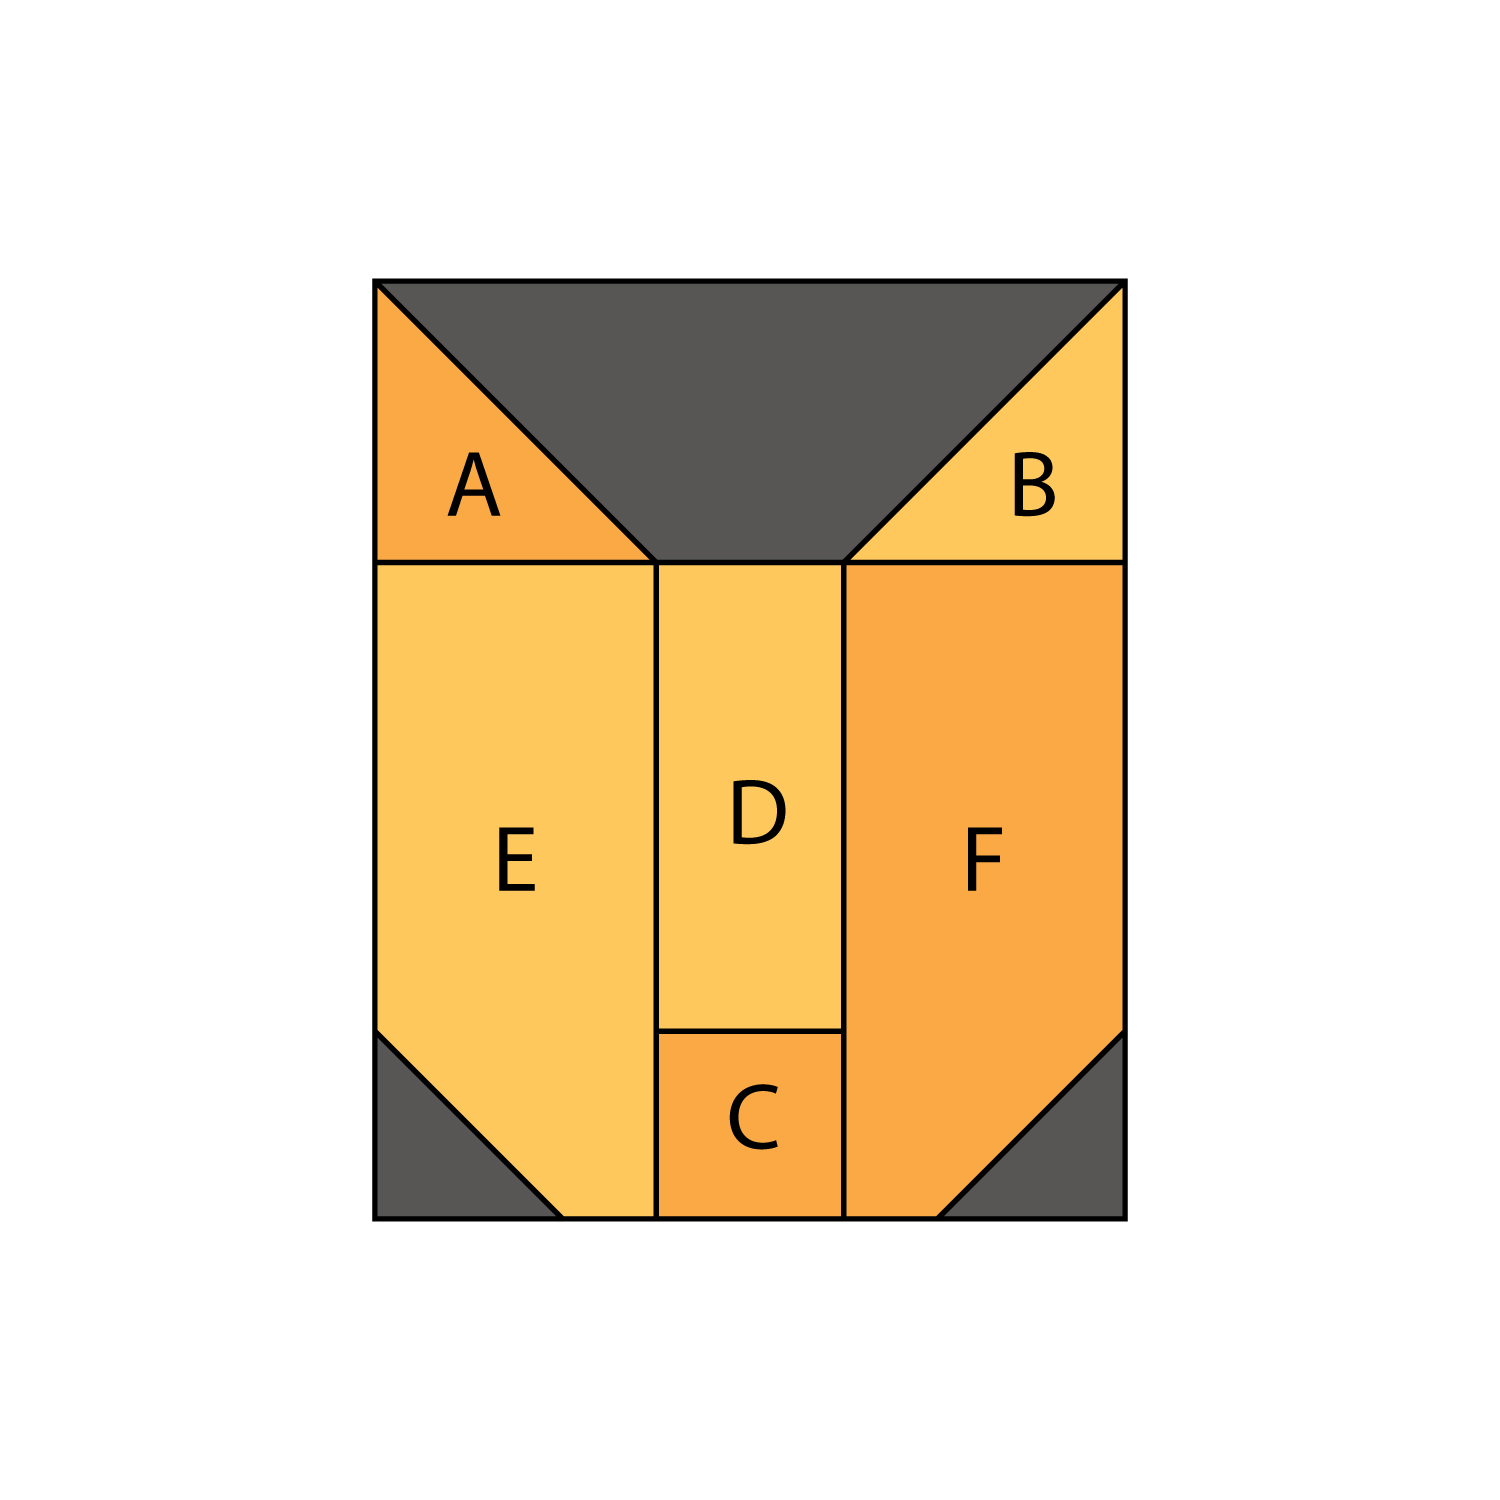
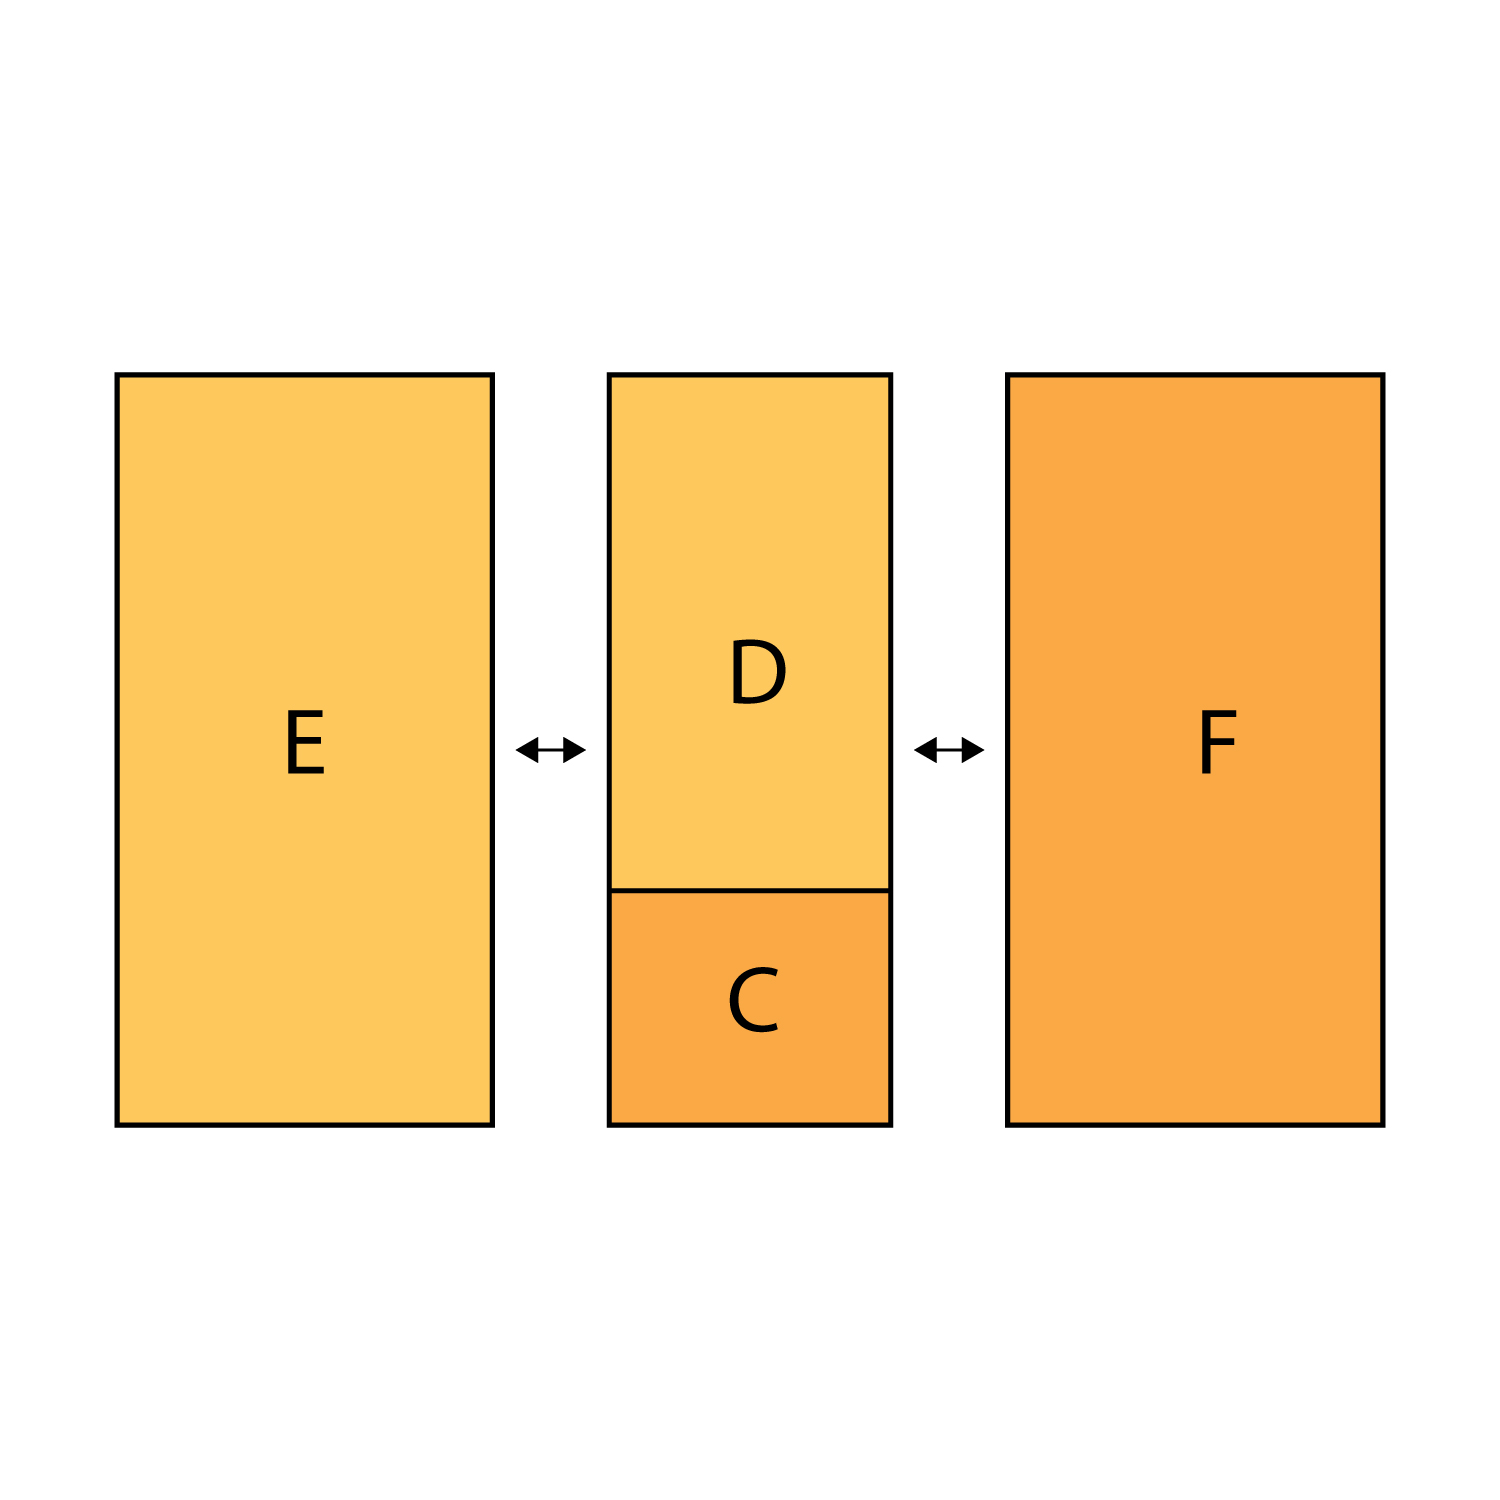
Making the Block
- Sew together pieces C and D.
- Sew piece E to the left side of the block.
- Sew piece F to the right side of the block.
- Use pieces A and B and the 2” x 4½” piece of background fabric to make an ear unit, as described in the basic block instructions.
- Make the chin by sewing the 1½” x 1½” pieces of background fabric to the bottom corners of the block, as described in the basic block instructions.
- Sew the ear unit to the top of the block.
Cat 10: Toby
Print Fabric Pieces
- B – 2” x 2”
- C – 2” x 3”
- D – 2½” x 3”
Solid Fabric Pieces
- A – 2” x 2”
- E – 2” x 4”
Making the Block
- Sew together pieces C and D.
- Sew the C/D unit to the left side of piece E.
- Use pieces A and B and the 2” x 4½” piece of background fabric to make an ear unit, as described in the basic block instructions.
- Make the chin by sewing the 1½” x 1½” pieces of background fabric to the bottom corners of the block, as described in the basic block instructions.
- Sew the ear unit to the top of the block.